“If you’re trying to achieve, there will be roadblocks. I’ve had them; everybody has had them. But obstacles don’t have to stop you. If you run into a wall, don’t turn around and give up. Figure out how to climb it, go through it, or work around it.”
– Michael Jordan

Climbing Mt. St. Helens had been on my “to do” list since I moved out to Seattle in 2014. It had been a fascination of mine ever since I saw an exhibit at “Ripley’s Believe It or Not!” in Wisconsin Dells, when I was a kid.
When I moved to Seattle, I was working as a sales rep, spending my days knocking on doors and having conversations in offices; which typically housed pictures. Anytime I saw a picture of hiking or mountain climbing, I asked about Mt. St. Helens. This was a great ice-breaker and also helped me understand that I needed to plan ahead, a LONG time ahead, before climbing. I thought it would be like the other 14ers in Colorado that I had climbed; just start early and summit before Noon. Oh boy, was I wrong!
The main reason I started Postcards to Iowa was to be the voice and guidance that I wished I had before my travels and adventures. The following step-by-step guide does exactly that; it is a combination of what I learned before, during and even after my climb.
I understand that hiking is subjective; I see it every time I climb in Colorado on All Trails. One climber posts that it was the easiest mountain they ever climbed while the same day, a different climber posts that they could not finish the climb because it was too rigorous. Given this, I wanted to include my experience and as many facts and pictures as possible; to not only be a guide but also as a way to set expectations.
Preparing to Prepare to Climb
Mt. St. Helens is the only mountain I had ever heard of where you need to start planning MONTHS before (and I do not mean training). Only 100 people are allowed on the mountain a day and those tickets open up months before Summer (and go very quickly) – so you have to pick a day and just hope the weather will work. More on the permits.
There are a couple different ways you can do this. If you feel comfortable with going by yourself (or without a guide) you can simply purchase a permit through the recreation.gov site and read up on your own.
The other option, is to go with a guided group. Since I was going to conquer the mountain alone, I decided to sign-up for the geological tour that was hosted by the Mount St. Helens Institute. Not only would I have a guide, but I would learn more about the mountain while hiking, a WIN-WIN!
Mount St. Helens Institute’s mission is to advance understanding and stewardship of the earth through science, education and exploration of volcanic landscapes.

The Mount St. Helens Institute also has an exceptional website with everything you need to know for your climb. I want to note that I am updating this post in 2020, when I climbed in August of 2016, this site was not as detailed as it is now – if you are a first time climber to this mountain, I cannot stress enough how much I recommend reading and re-reading this website!
I believe I signed up for the guided hike in February (March is when the permits became available). The guided tour was much more expensive than just purchasing a permit but like I said, you have people to hike with, can learn from them, and they take care of everything for you (including the permit) – no need to worry if you are “doing it right” – I felt very taken care of! I crossed my fingers for nice weather and didn’t think about the hike for nearly half a year!
Luckily, I did have fantastic, beautiful, stunning weather….but that should have been the least of my concerns. For some reason I had it in my head that this climb would not be hard.
I mean, half the mountain blew away – how hard, could it be?
It is half the size of the other mountains I have climbed and much lower in elevation. Wow, was I wrong.
Preparing to Climb
Come August, I drove down to the town of Cougar the night before the climb … since we started at 6:00 AM I wanted to make sure I was close and I knew exactly where I was going (I did not want another recurrence of my Paris Wine Trip disaster 😛 )
I had looked into hotels, but did not find one close enough. I had also waited until the last minute as I was unsure with what I was gong to do. I had even thought about going to the trailhead the night before and sleeping in my car …something that was ruled out by Derek’s concerned family instantly.
Looking back, I wished I would have booked something earlier and made a weekend out of it, as there are a lot of things to do in the area.
I Ended up staying in a bedroom that someone had listed in their house on AirBnB. It ended up working well, was safer and the price of $40 could not be beat! I arrived, dropped my things and headed out. I was so concerned about another missed tour, that around 8:00 PM, I drove up to the trail head just to make sure I knew exactly where I was going the next morning.
It was quiet, the sun was going down and it was almost unsettling how isolated it was (luckily, I had not gone with my original plan to sleep in my car). I had to do a selfie as I entered the road to the trail head.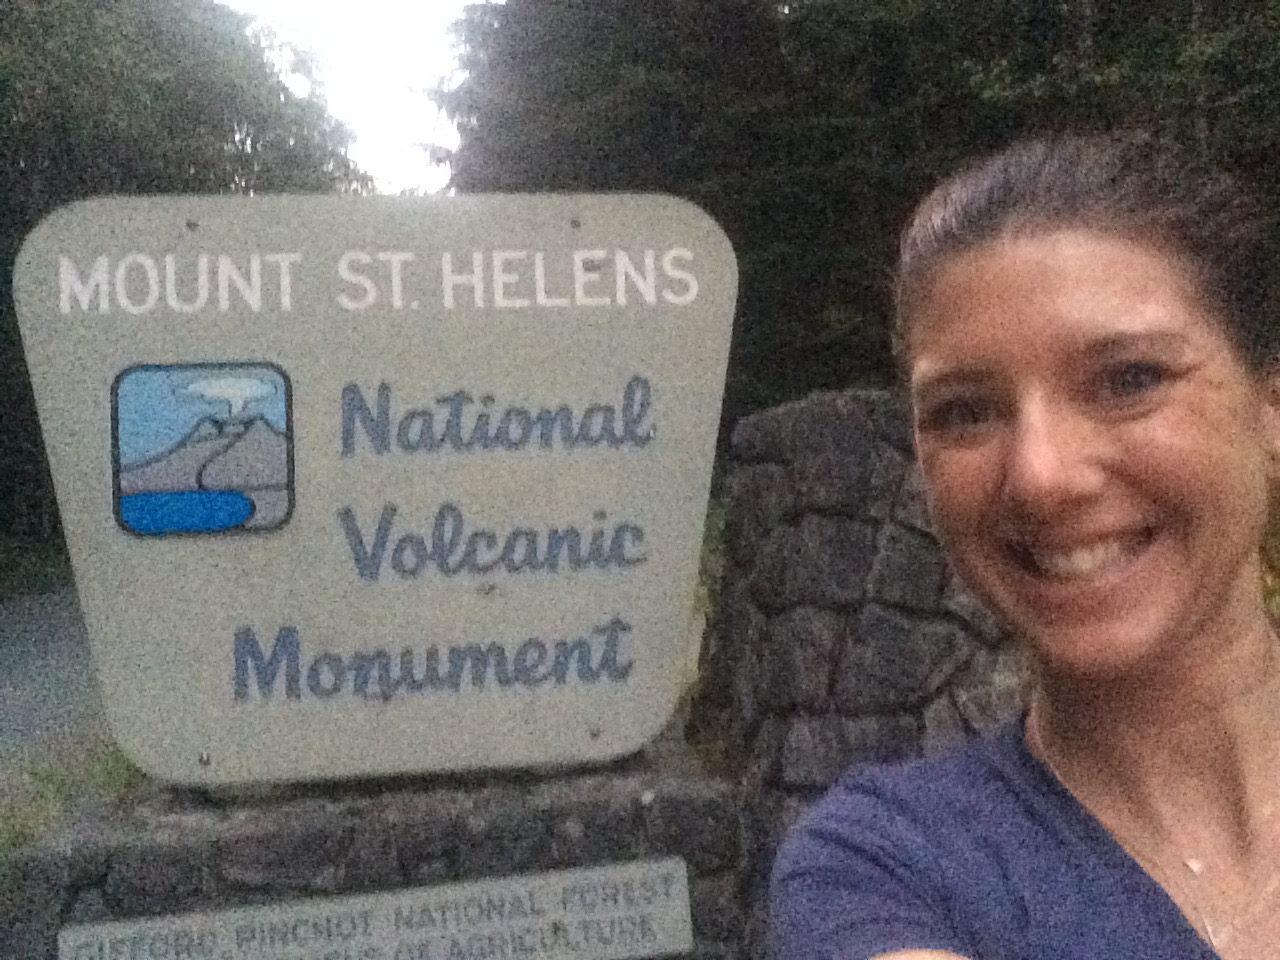
The Climb
The next day, after very little sleep (I never sleep well before a climb, nervous energy and excitement) my first of two alarms went off at 4:00 AM. By 4:30, I was out the door in WAY more layers than I needed. I arrived at the Climbers Bivouac Trailhead at 5:15 AM with two gallons of extra water in my car (there is no running water at the trail head) and about 2 litters of water for the climb.
I had originally planned to just bring 1 litter for the climb, but the day before, I received an email from our tour leaders warning us that it will be HOT and we should double what we were suppose to bring. I ended up being incredibly lucky they sent this email as I did need the extra water (it was my first hike where I actually ran out of water!) At 6:00 AM, after doing brief introductions to our group and a safety talk – we were off – I had no idea what I was in for….
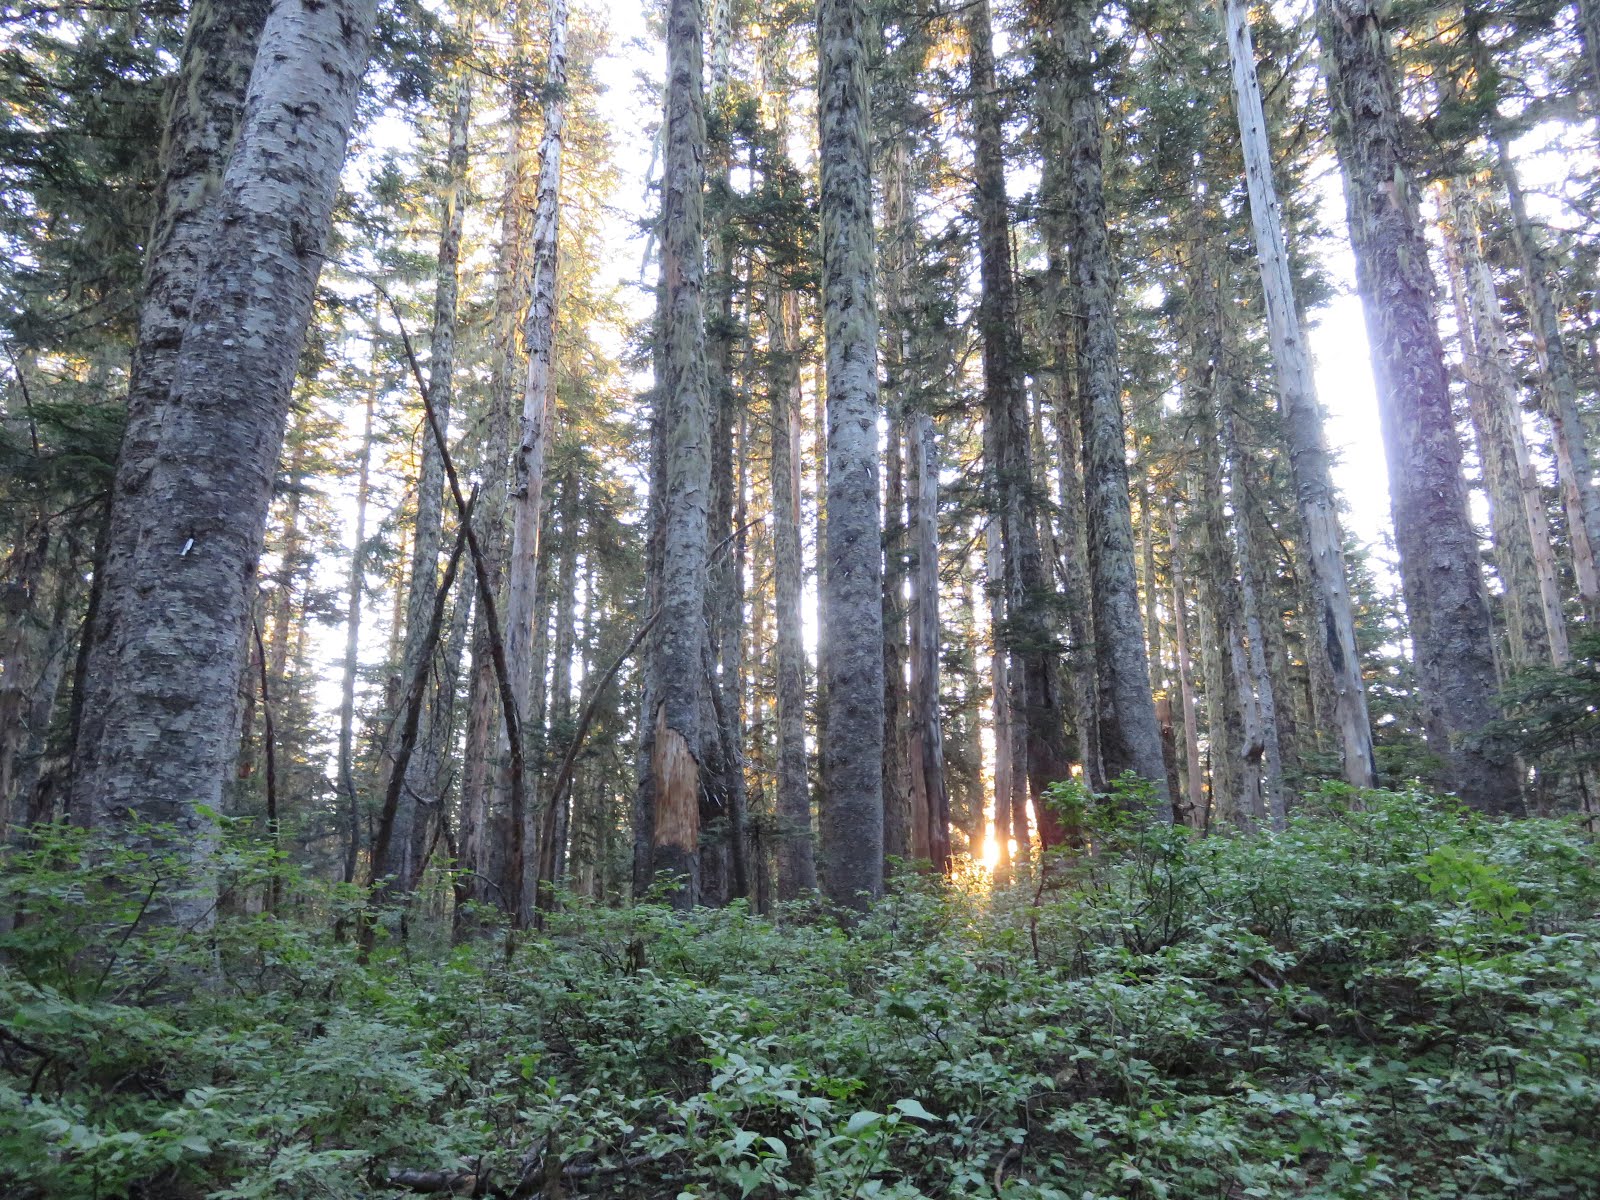
The first two miles there is only a 900 feet increase. We winded through the forest, which was beautiful as the sun came up through the trees. It felt invigorating to be climbing/hiking at only around 3,000 feet as I am “used” to 7000+ feet in Colorado, where you are fighting for every breath.

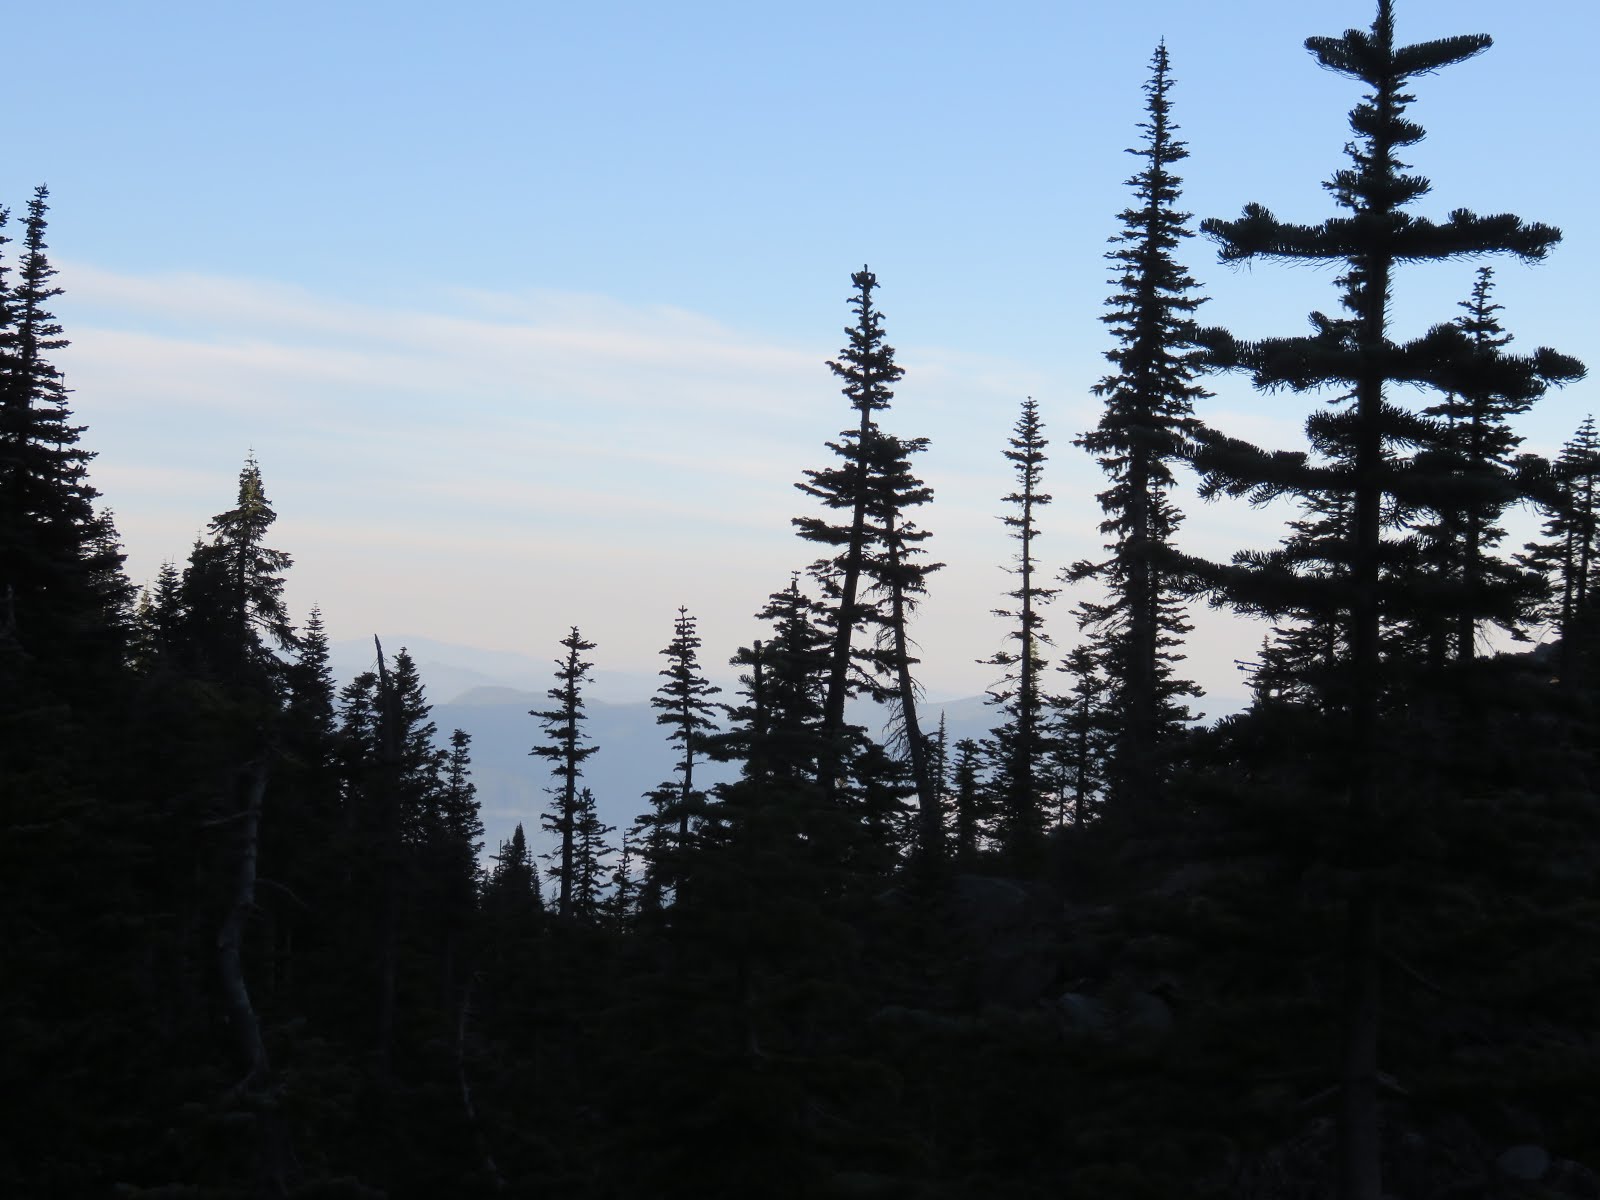
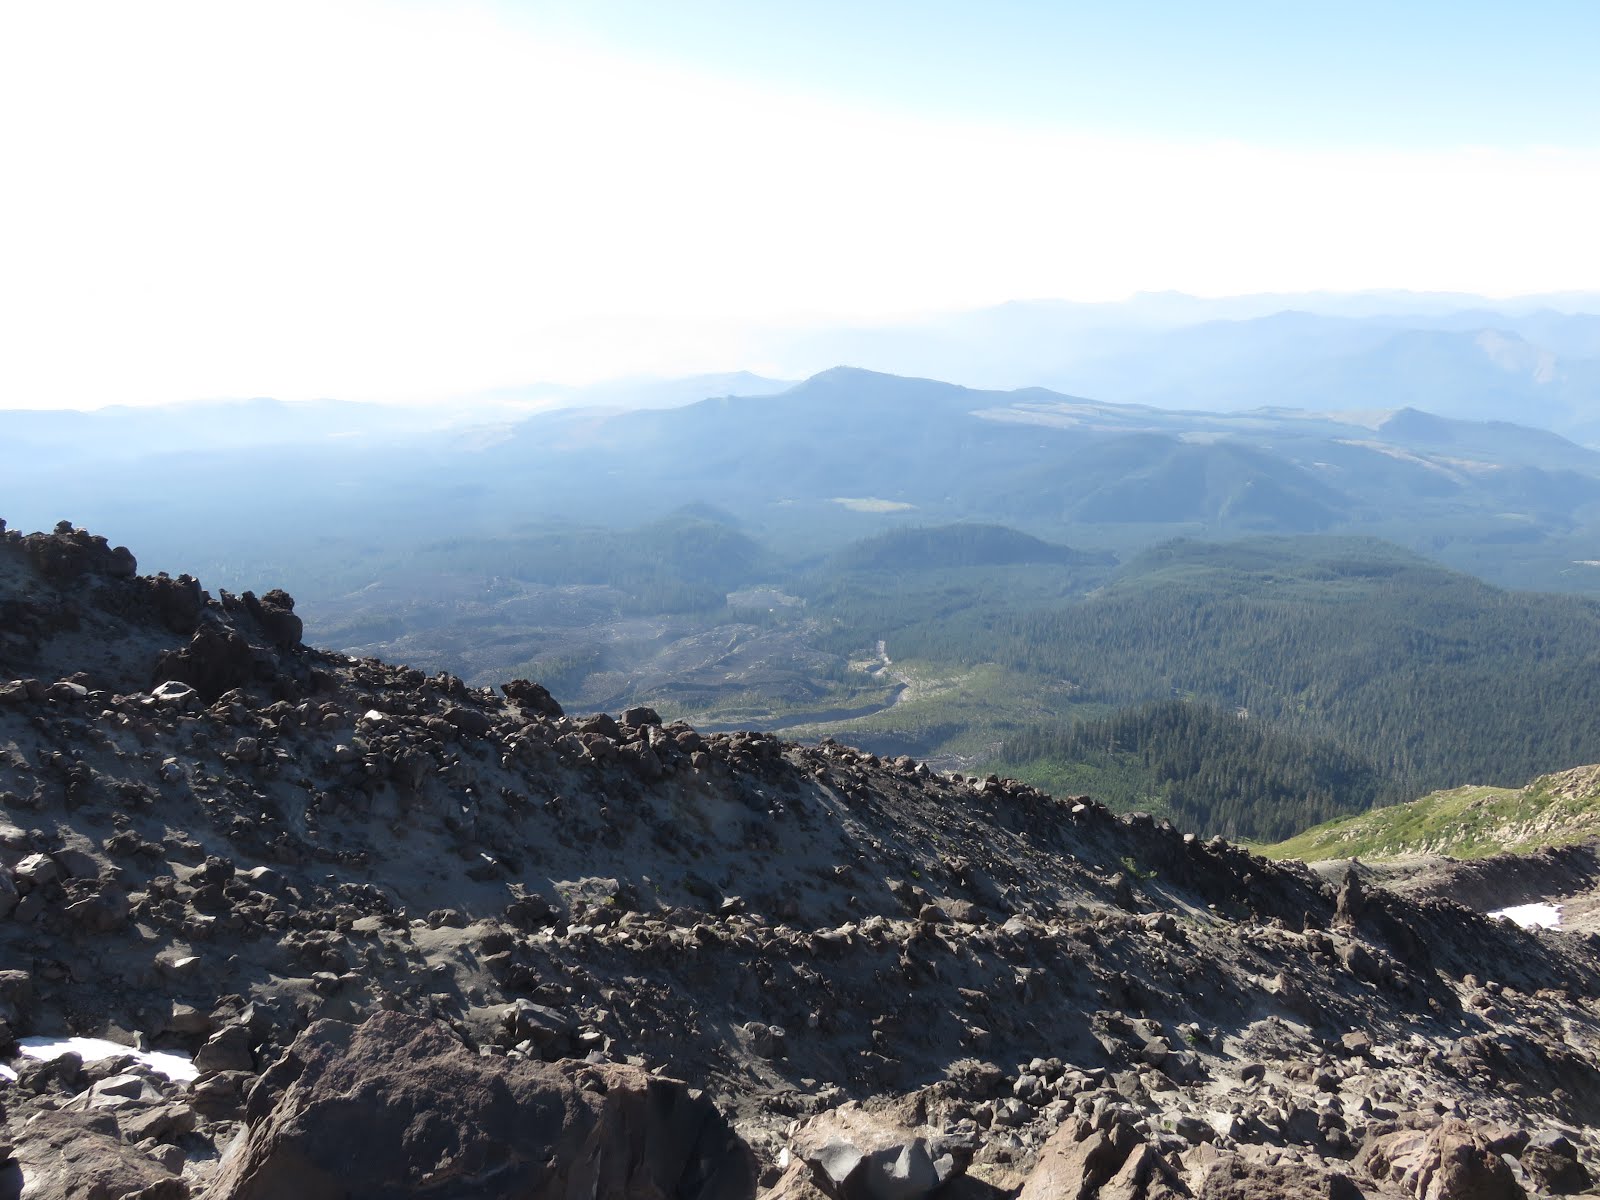
We emerged from the forest and followed the Ptarmigan Trail (216A) to Kiwi Camp (4,800’). Mt. St. Helens was the only hike/climb I have done where you have stunning views immediately. These views continue throughout the entire climb.
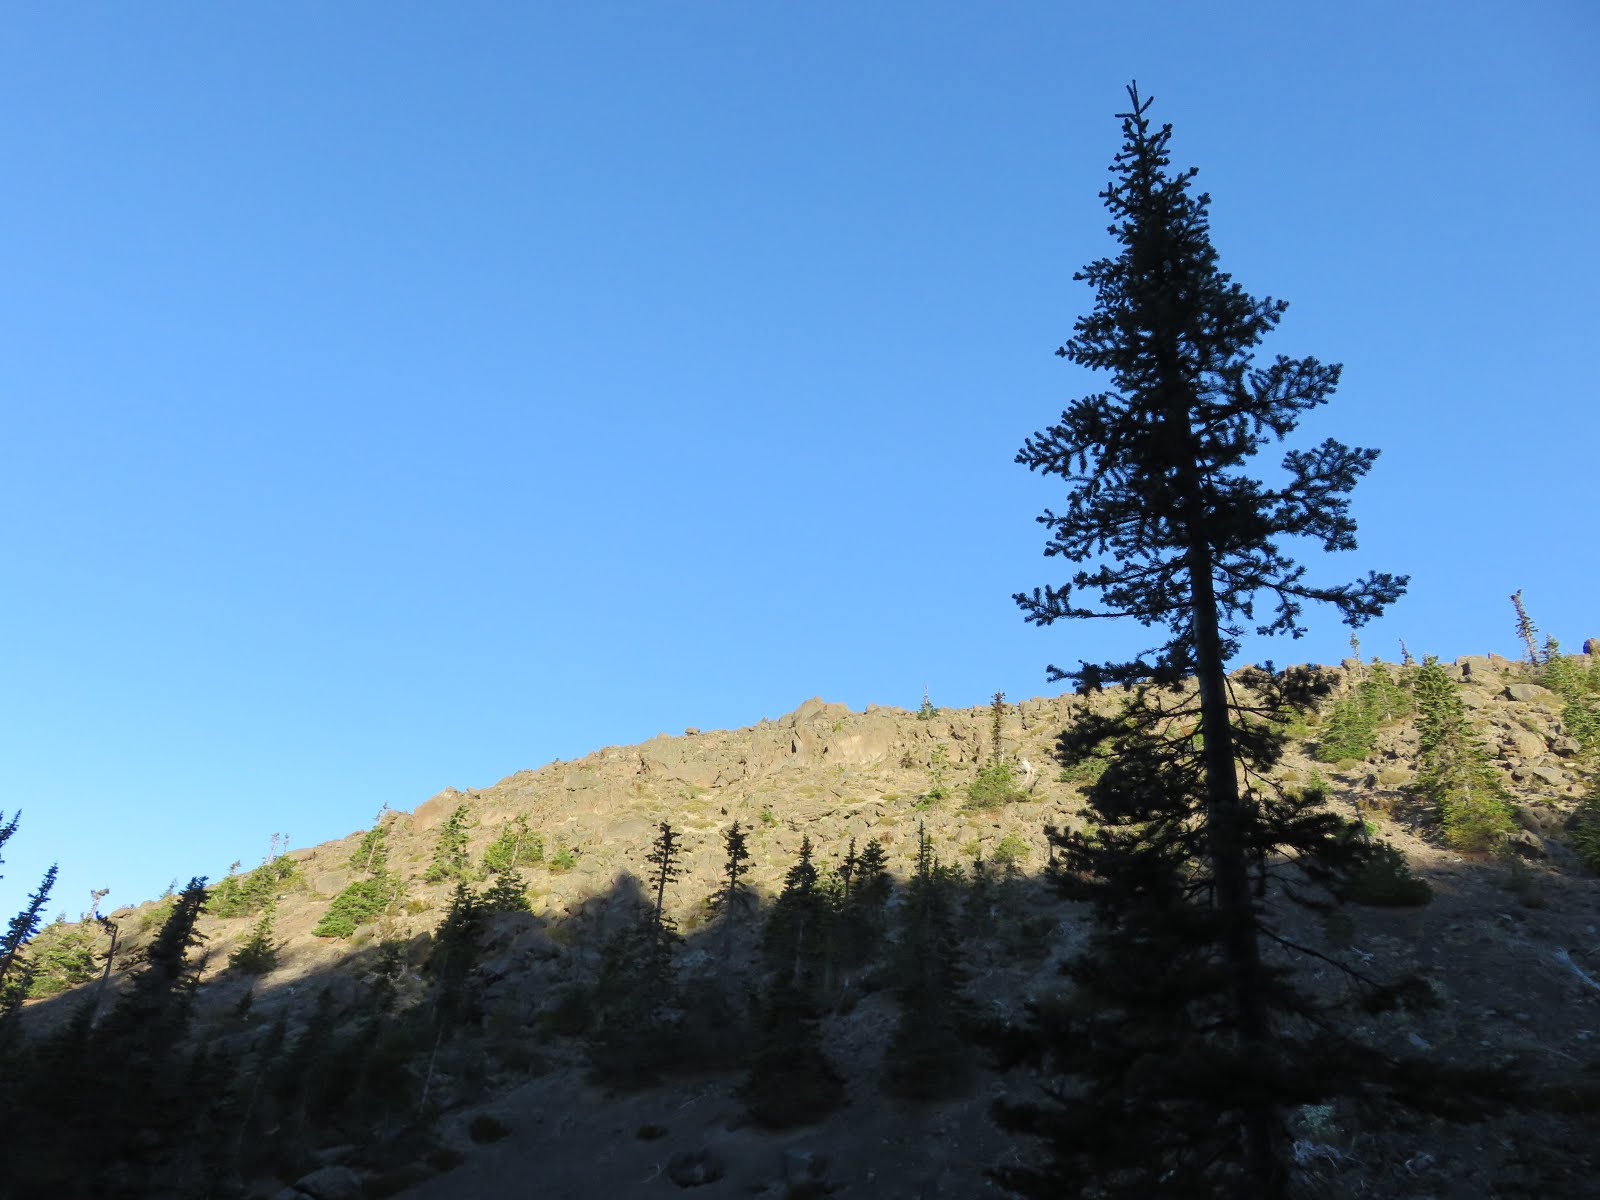


The picture below, is what they called the “ancient peak” of Mt. St Helens. This is where the submit was hundreds (maybe thousands) of years ago. 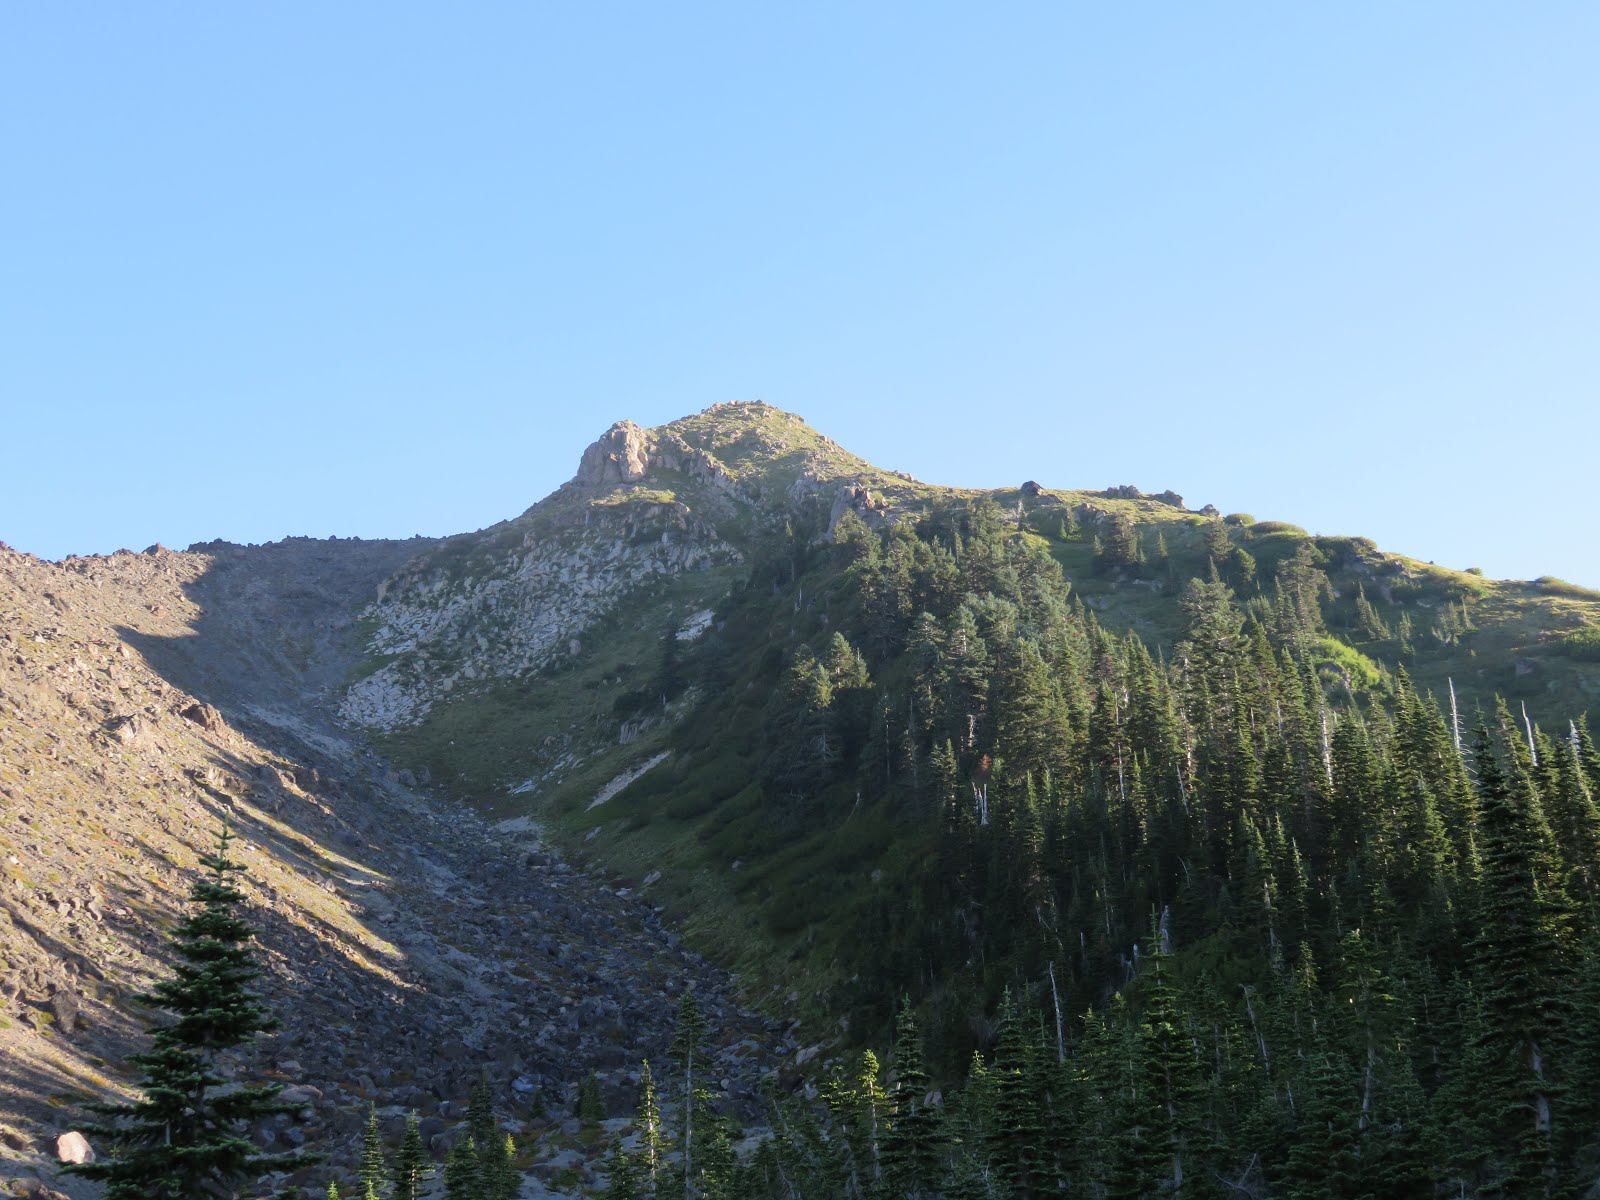
And then it starts ….
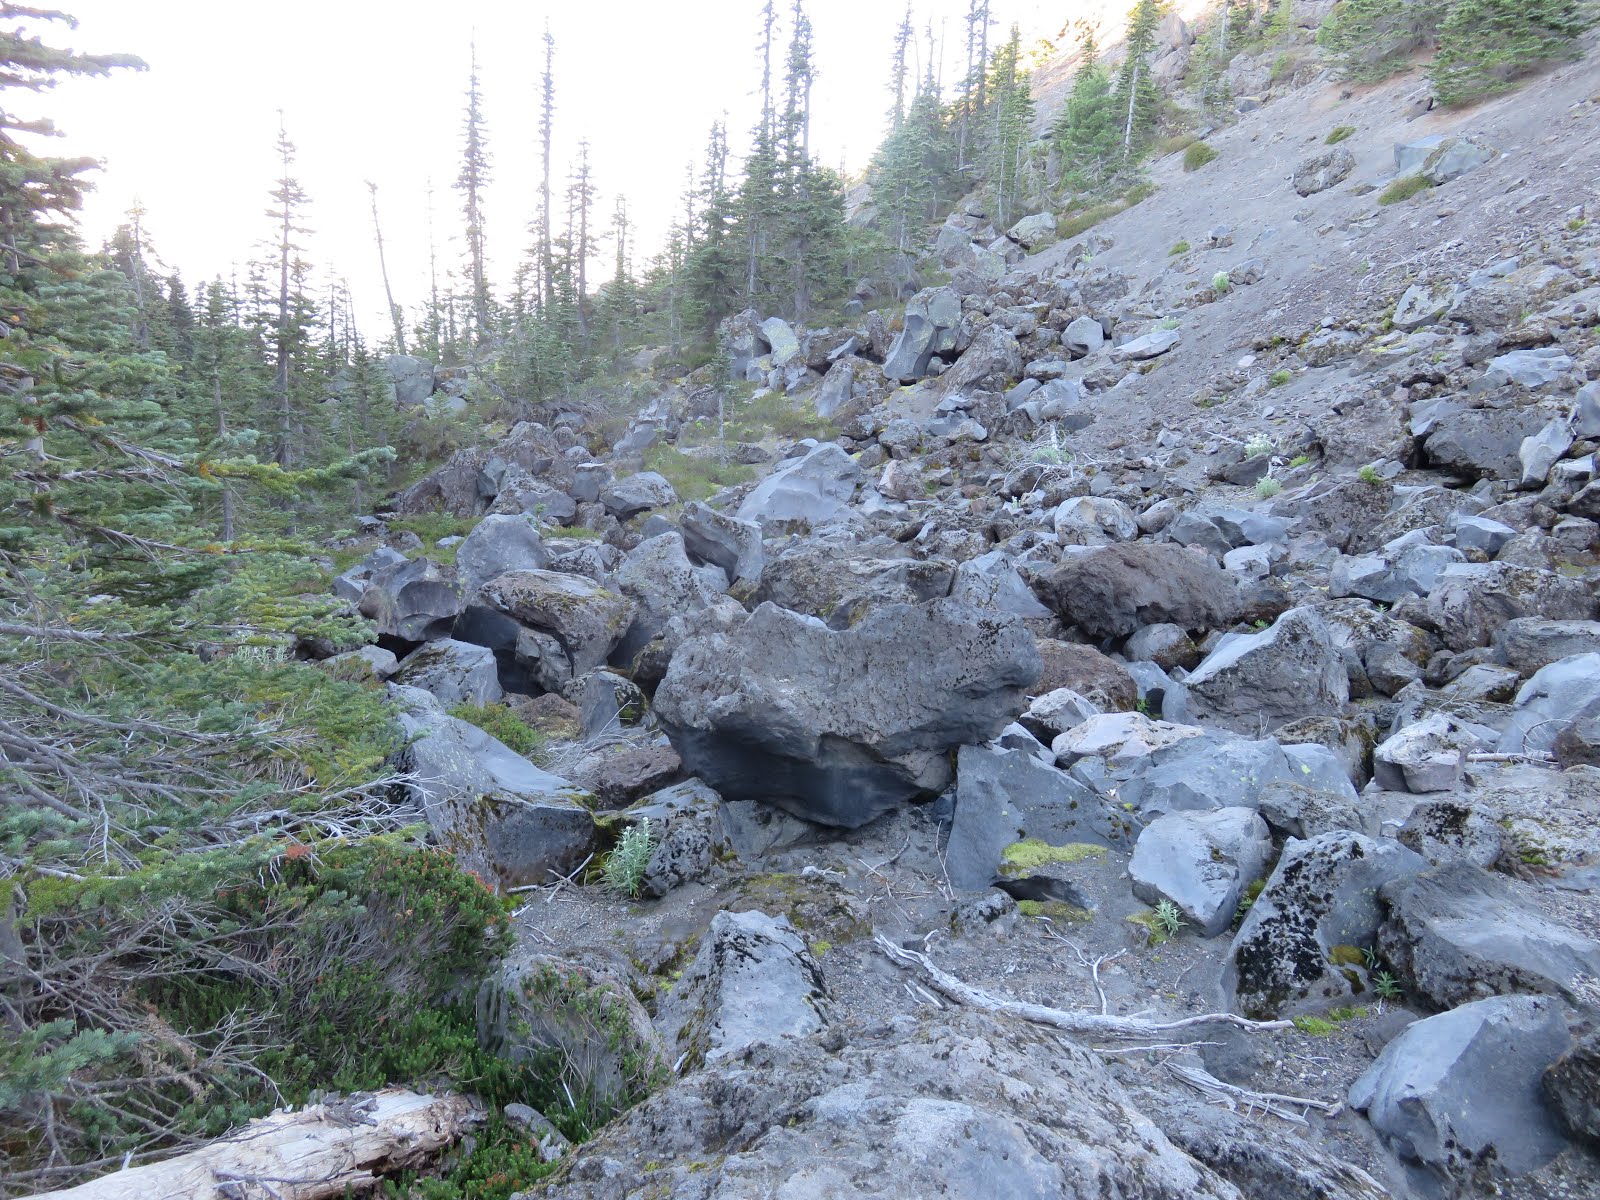
Once I started above 4800 feet, there were endless views, no trees (OR SHADE), higher winds and the rocks and ash started. I think another reason that I was not prepared for the difficulty is that everywhere mentioned that Mt. St. Helens is not technical:
Difficulty: Non-technical but very strenuous scramble… The hike is hard, but requires no technical climbing skills …. Although strenuous, this non-technical climb is suitable for people in good physical condition who are comfortable scrambling on steep, rugged terrain……
Needless to say, I was not prepared for the internal and physical struggle that was about to take place.

Here is the description of the hike from from the Mt. St. Helens Institute:
“Once at Kiwi Camp, we ascend above tree line and begin following Monitor Ridge up to the rim (8,300’). The majority of the elevation gain (3,500’) is in the last 3 miles where the climb is most strenuous. Ascending the rock fields, scrambling over boulders, hiking through scree and ash, as well as snow travel (depending on time of year) are all components of the climb. Descending through the volcanic terrain can be equally as trying. The geologist will give short presentations along the route. The typical round trip takes approximately 8-11 hours (6:30am-5:30pm), depending on the group and the weather conditions.”
Mt. St. Helens Institute
At this point I was starting to worry a little. I had zipped off the bottoms of my pants and now had shorts, taken off my under armor and jacket; and was still feeling pretty toasty.
I am so thankful I decided to upgrade my hiking shoes, as after my climb last year in Colorado, I realized my hiking shoes (which were more like tennis shoes) had horrible ankle support. After a couple hours at REI, I went for some lightweight but heavier duty and ankle supporting hiking boots (these are the ones I got*) The reason I went with these, were they were the lightest hiking boots I could find. I wore Vibrams for years (even climbed my first mountain, Pikes Peak, in them) but they did not give me enough support and they also did not protect me from the toe stubs. When I transitioned to hiking boots, I needed to be careful to not pick heavy boots, as it would be too hard on my legs, that were used to not caring any weight when I climbed. The ones I got were the perfect combination and I ended up using them for years to come.
As you can see from the terrain below, it is VERY rocky. Lots of places to twist ankles (or break them!) Our guides told some horror stories!
It might have been challenging, but it was simply the most beautiful hike I have ever done.


Right before we stopped for lunch, the ash started, which would get kicked up and made it dusty. It also would take your sunscreen off (think exfoliation) and sun screen needed to be applied constantly.
NOTE: bring extra sunscreen and I highly recommend a spray on kind (so you do not have to stop to put it on) it should definitely be a broad spectrum and be fine so it absorbs quickly. Here is my favorite* (which doubles as a make-up setter for everyday use and is perfect for the beach too).
I think the below was my view from lunch. Which, looking down, I could see the ancient peak (which hours before, we were looking up at)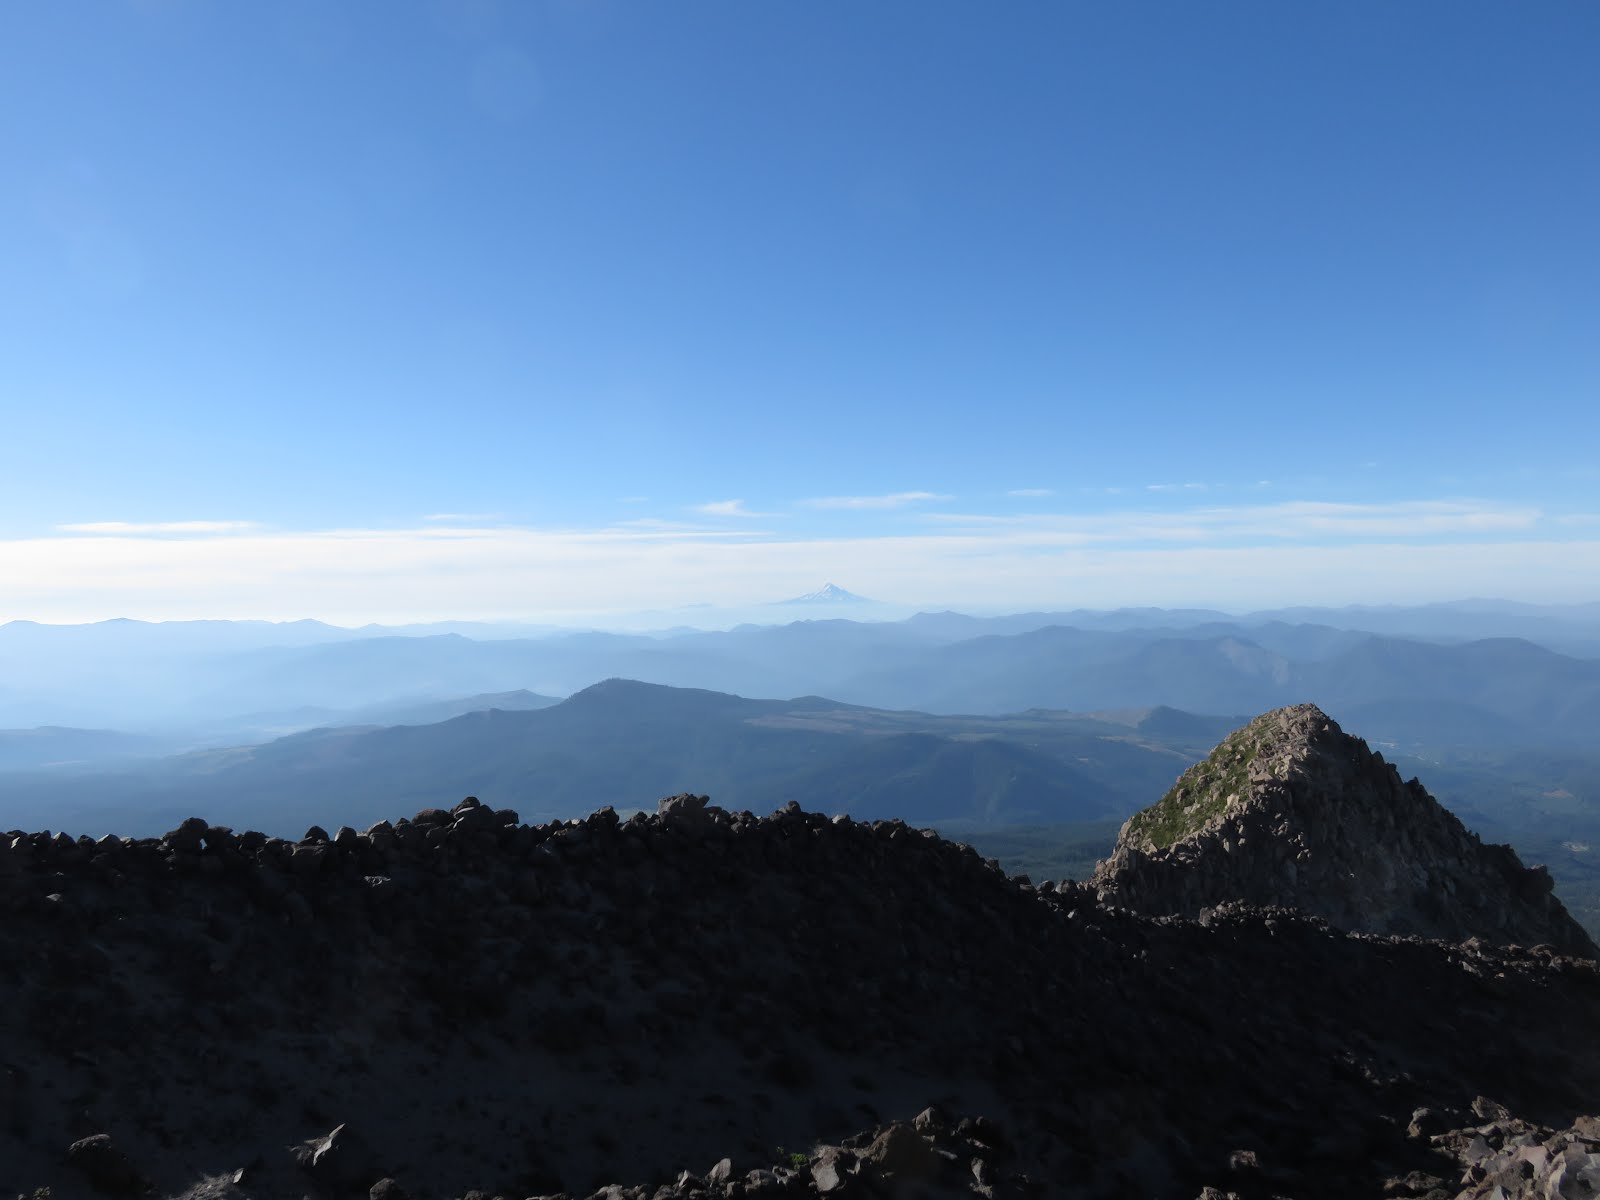
And looking up, I could see what lay ahead … major big gulp!
Another view from lunch:
Another angle of the ancient peak: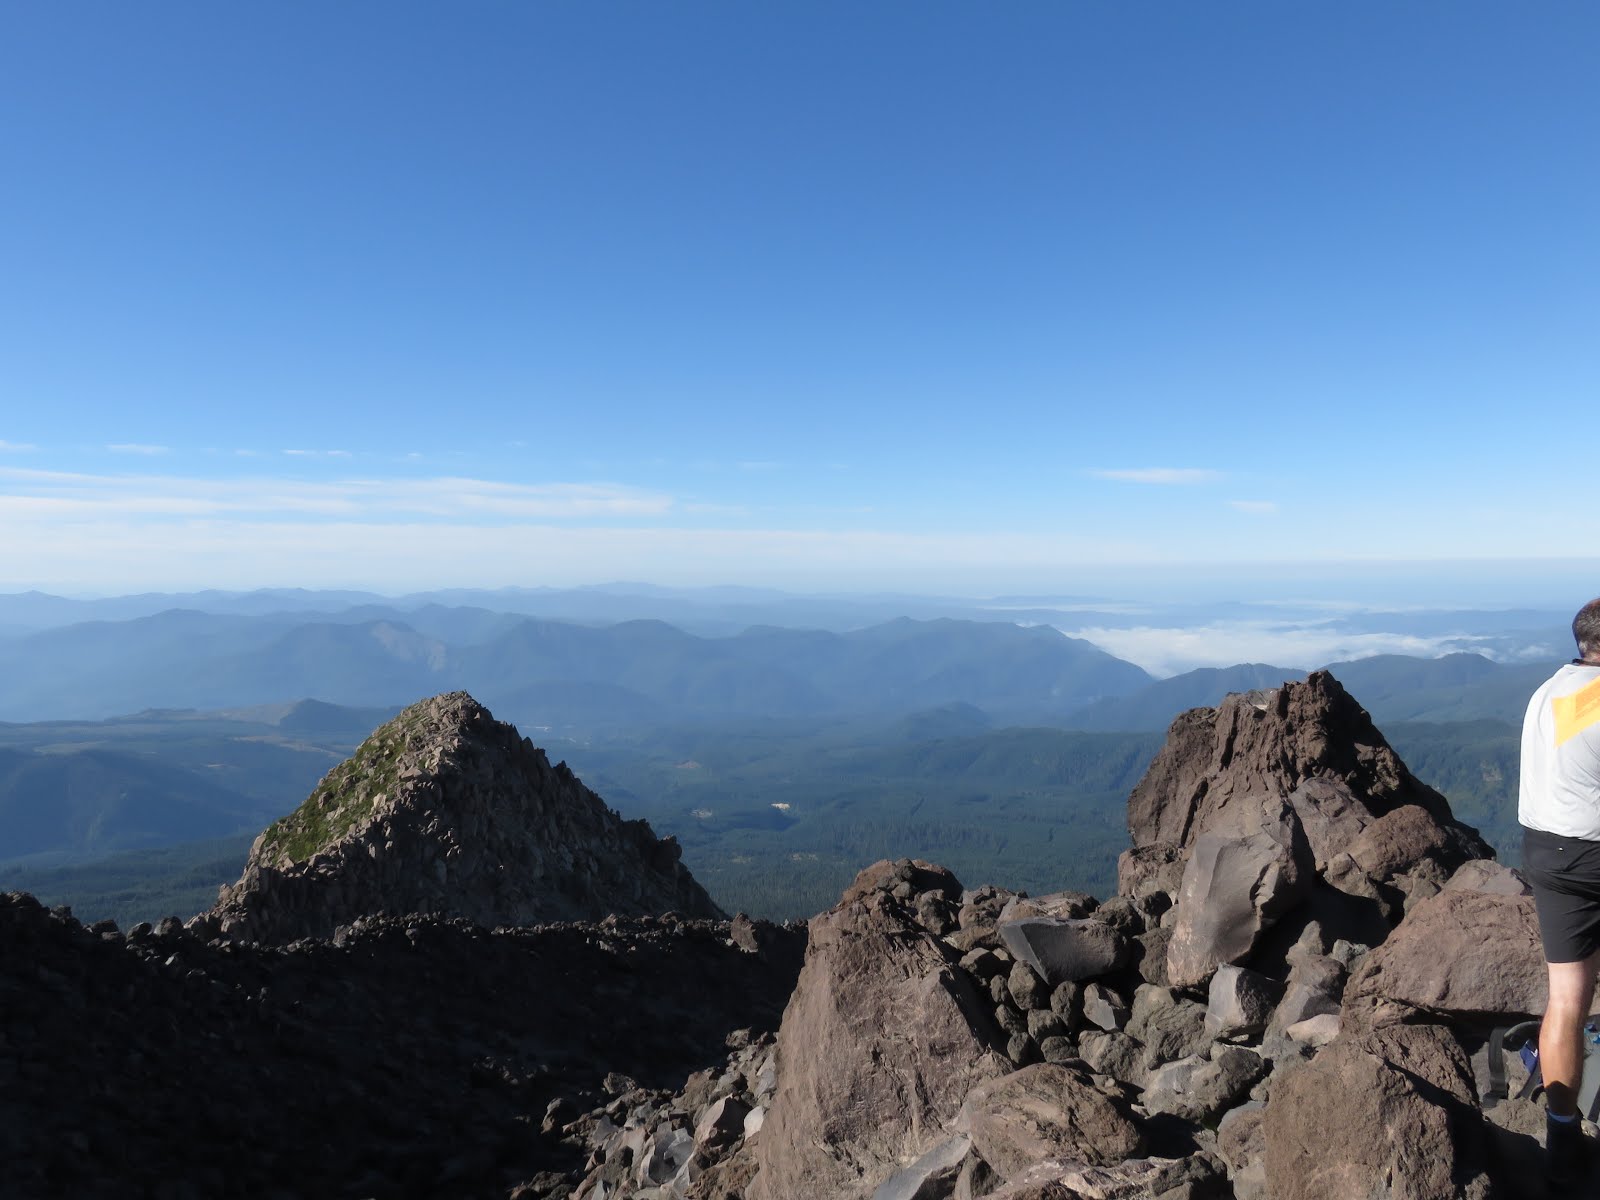

One of my favorite parts of climbing, is seeing how far I have come. It can be encouraging, as many times it feels like I am not making any progress. But with one glance, you are reminded, encouraged and re-energized to keep going. LOOK HOW FAR WE HAVE COME!!
Maybe my favorite thinking about climbing and hiking are all the metaphors for life. I will write a post someday that lists all the ones I have thought of (and can remember) through the years. But the one I was thinking about in this moment was how important it was to be present. Not worrying about how much more, or the way down, but to just keep putting one foot in front of the other. As Dory puts it: “Just keep swimming, just keep swimming, just keep swimming” In a way, it is meditation.
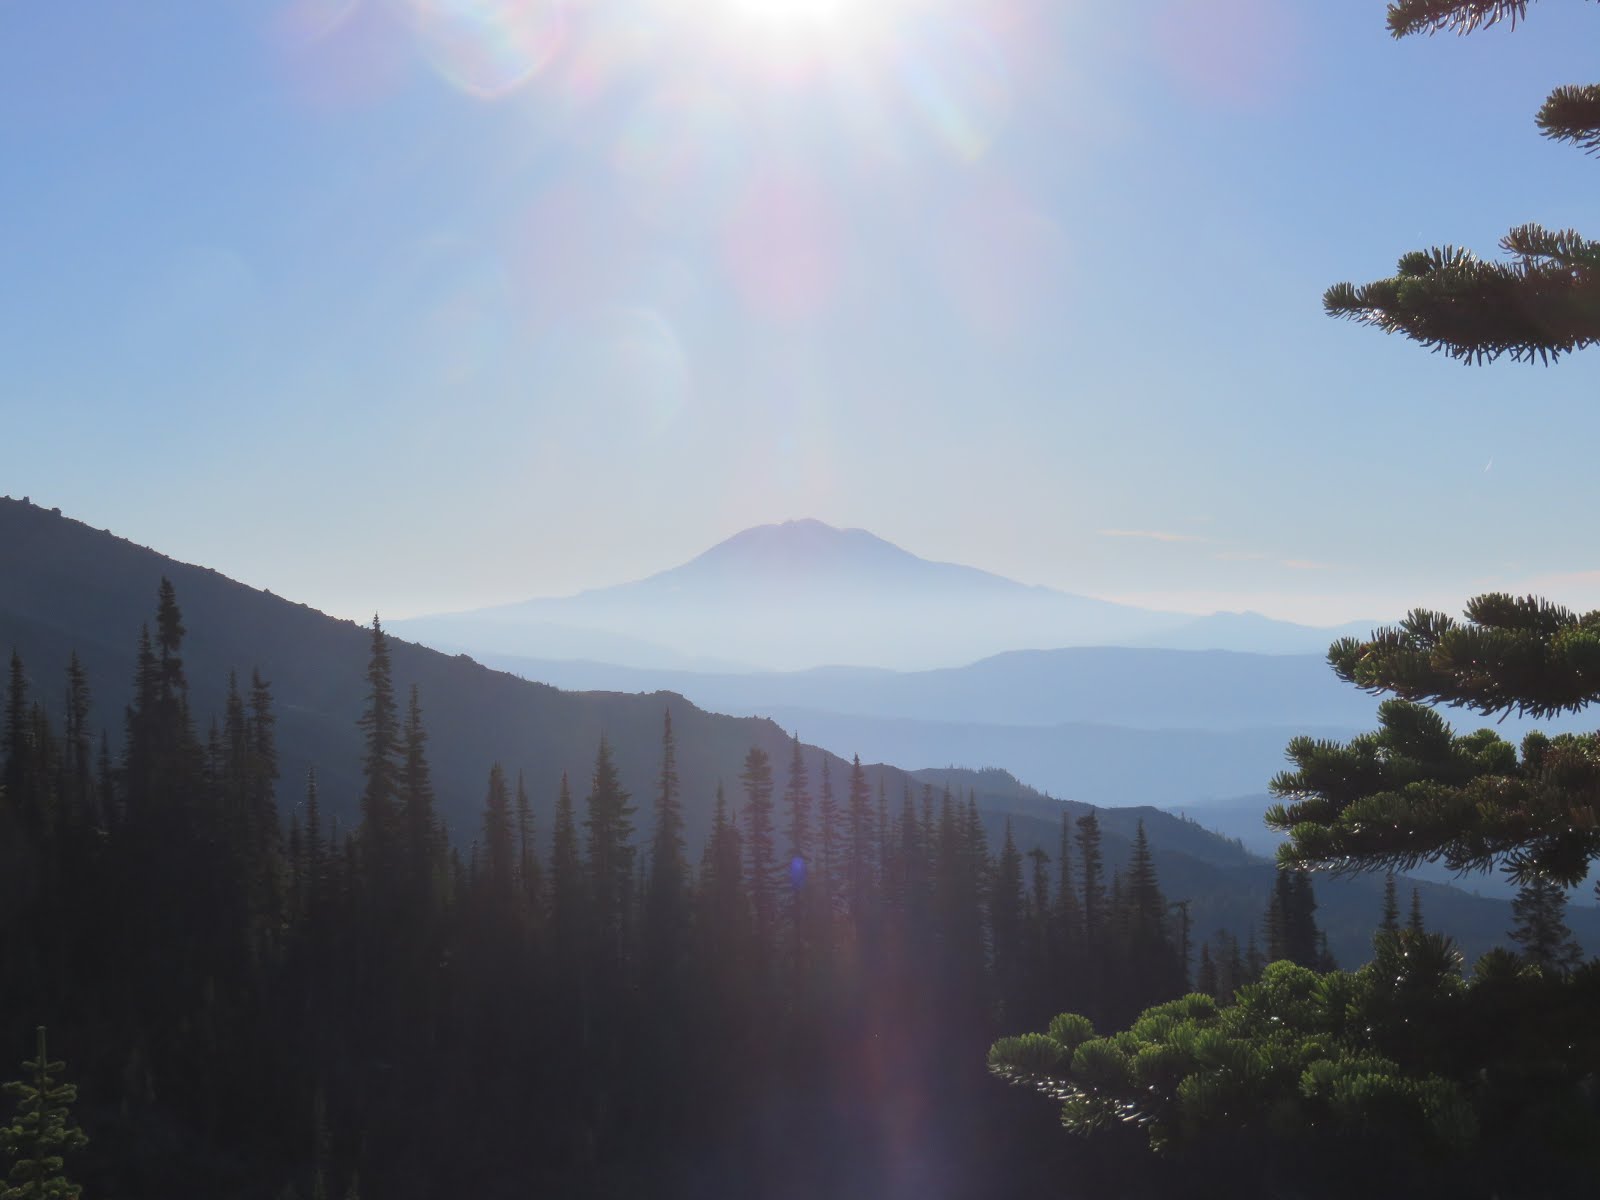
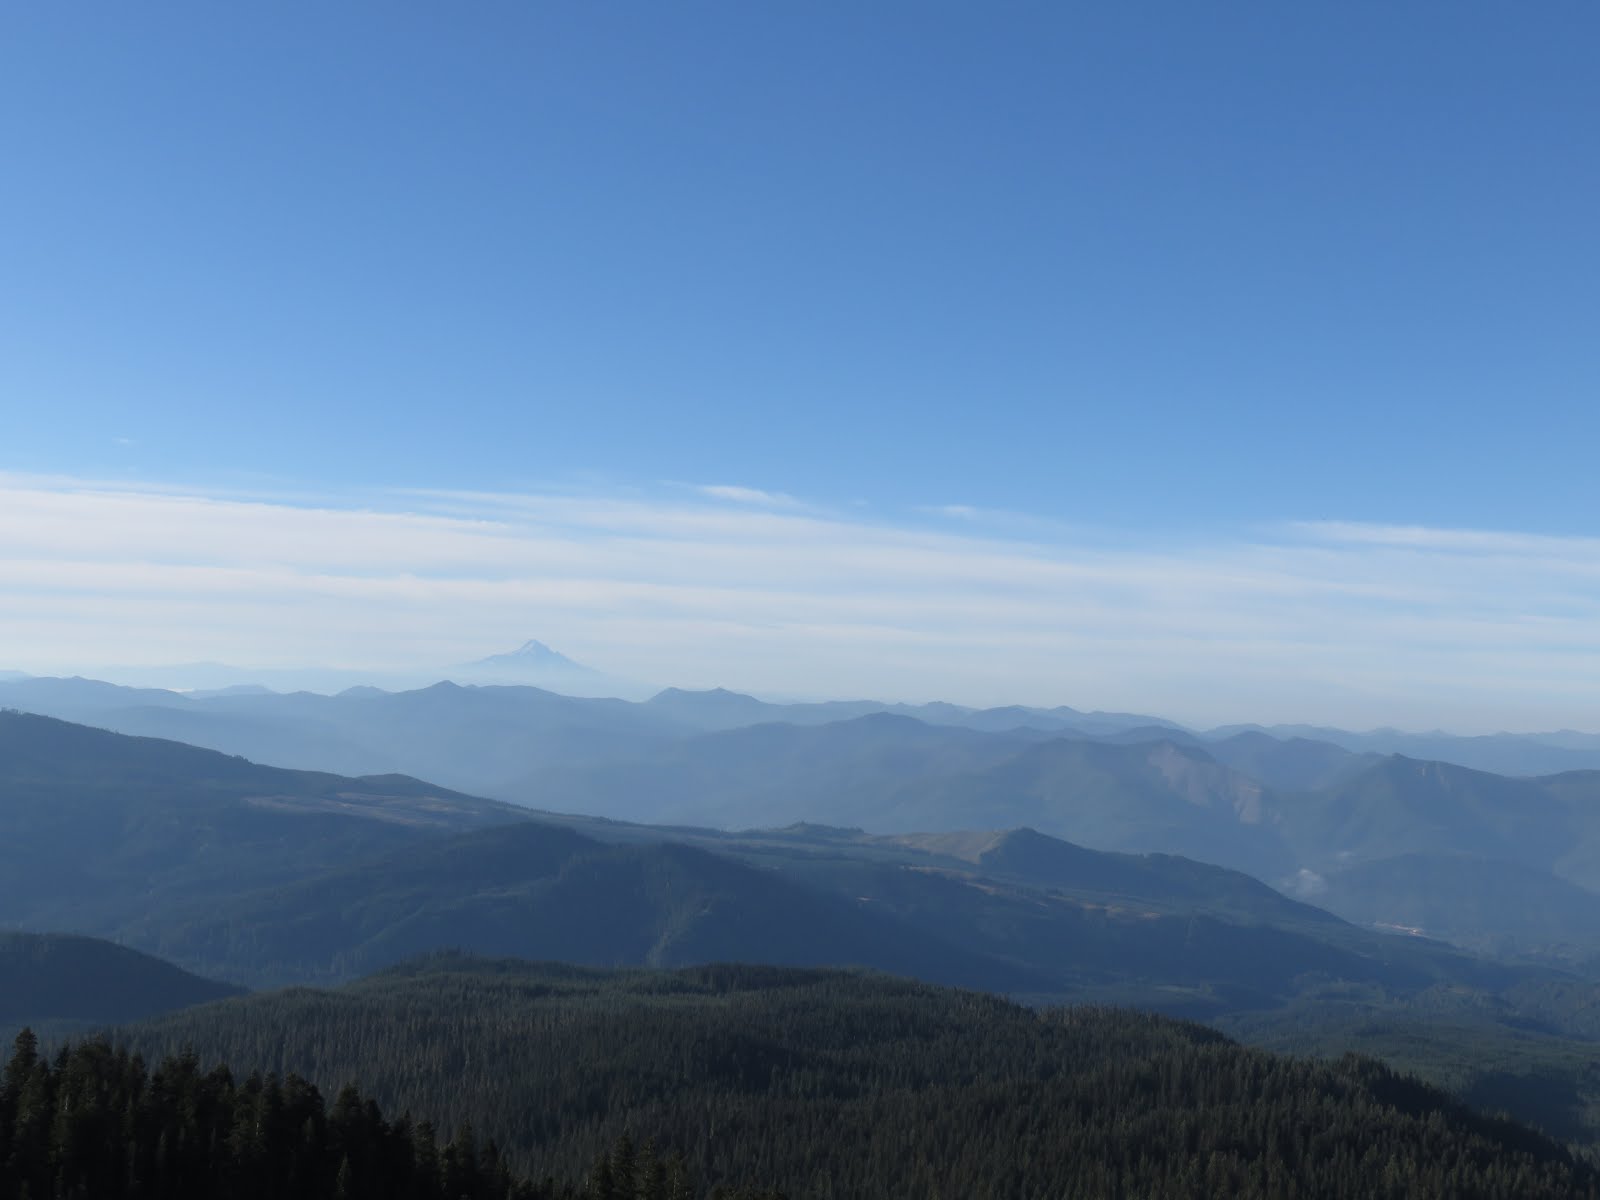
I think this is Mt. Adam’s

Here we had another break. The wind had really picked up. A wind breaker that is water proof is a MUST. My NorthFace has been a life saver over the years (thank you for the great present Derek!) Another REI purchase and appreciated gift. Years later, this same jacket would save my brother as he had not brought one on his first 14er climb; and I had evolved at that point of bringing two of everything in case someone needed something.
Derek gave me my first one (pictured) but I have since found a more light weight one, that still accomplishes the same thing, but is about a fourth the weight (and is a little bigger to account for all the extra layers I sometimes need). It might not seem like a difference in weight, but it adds up in a backpack. Here is my current one and my absolute must* for every single hike (and handy for Seattle weather). If you are climbing in colder temps, I LOVE this one*, which also light weight and compacts into a very small bag. Perfect for layering and extra warmth. I originally got it for Iceland but later realized how great it was for hiking and camping. 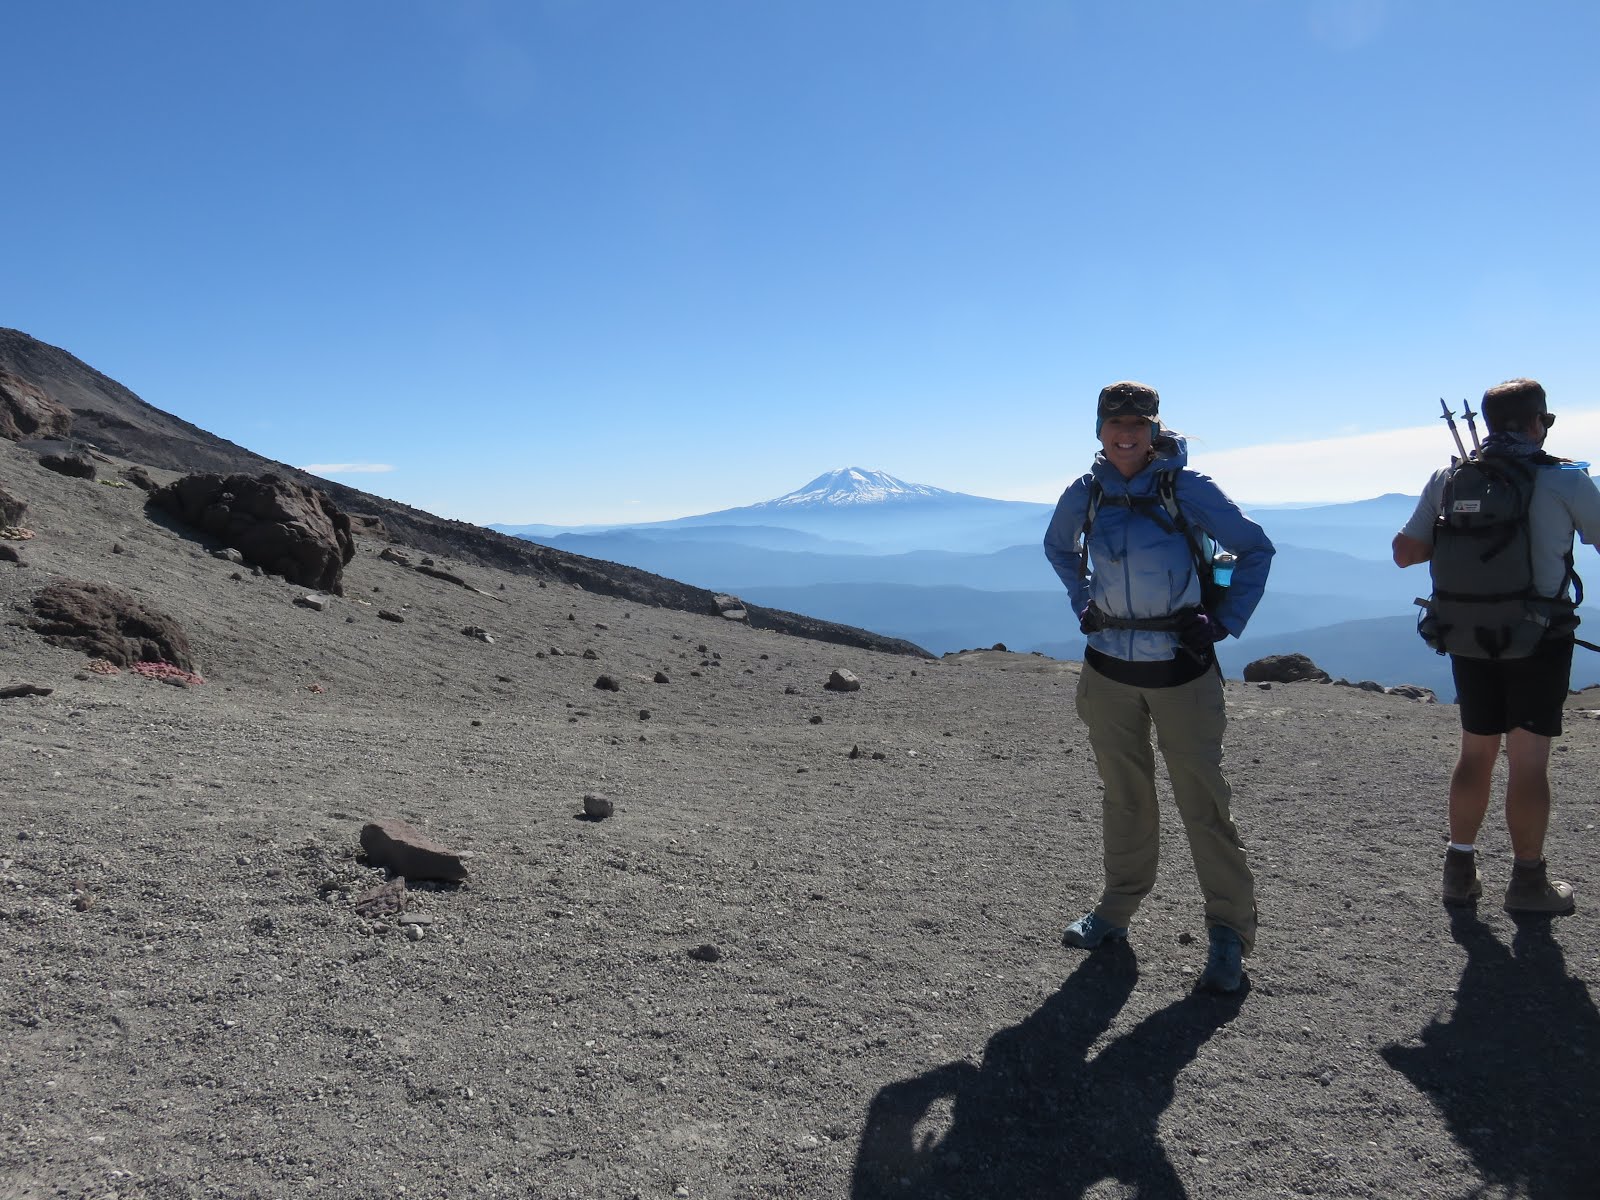
After our break, we pushed on … I could not believe we were about to climb this:
It really seemed with all the ash that it was two steps forward, one step back (another metaphor for life?) Something I eventually learned, that helped, was to take small steps (another metaphor for …ok, I will stop)
This was the last picture for awhile, as it took so long to get up this last part. There were a lot of breaks, a lot of internal dialog and a lot of humbling moments. Everyone who was coming down the mountain kept saying “IT IS SO WORTH IT AT THE TOP – DON’T GIVE UP – YOU ARE ALMOST THERE”
Being a climber, I could not imagine that it would be that good, we are only 8000-ish feet high. But I kept going.
For the last hour, I decided not to look up. I was tired of looking up and seeing what seemed to be the same thing and that the peak was not getting any closer. After I stopped looking up, it seemed to make it “easier” or at least help mentally.
Like I said, I had no idea that the view would affect me so much. But as I crawled (literally – I was on all fours) over that last little lip and saw the view – I started to cry.
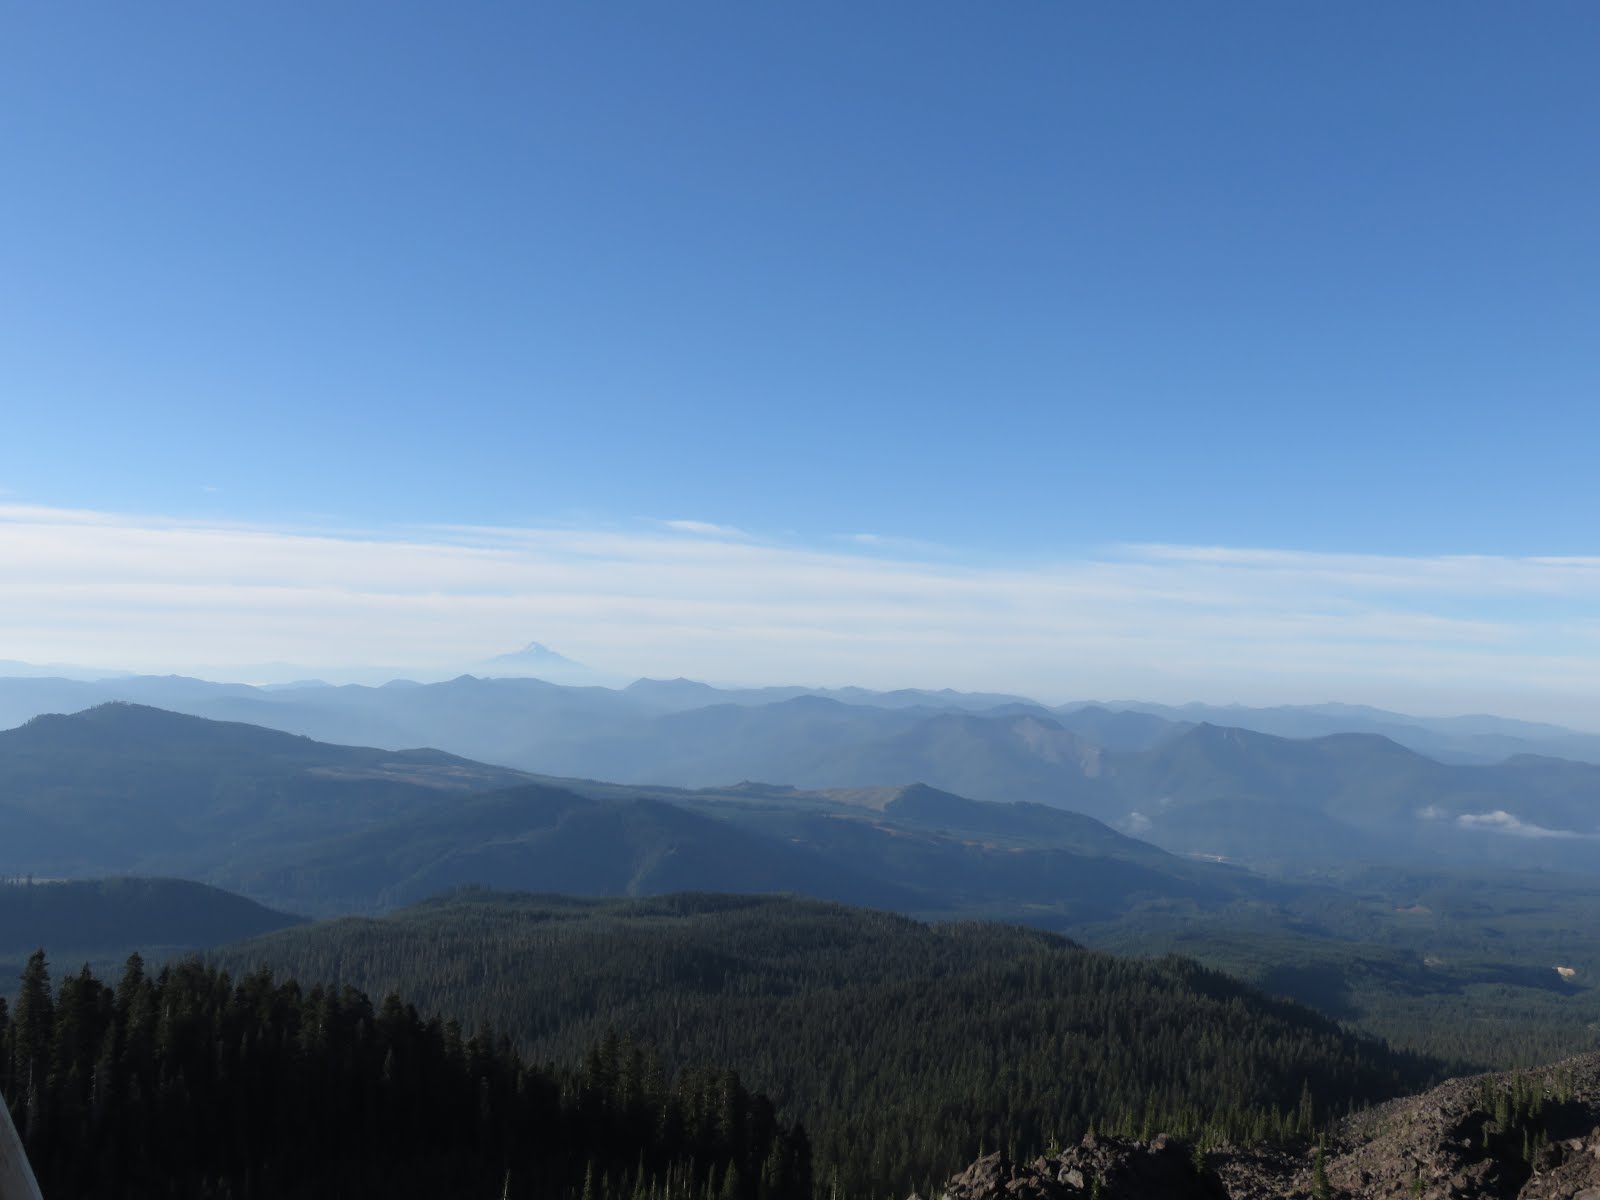
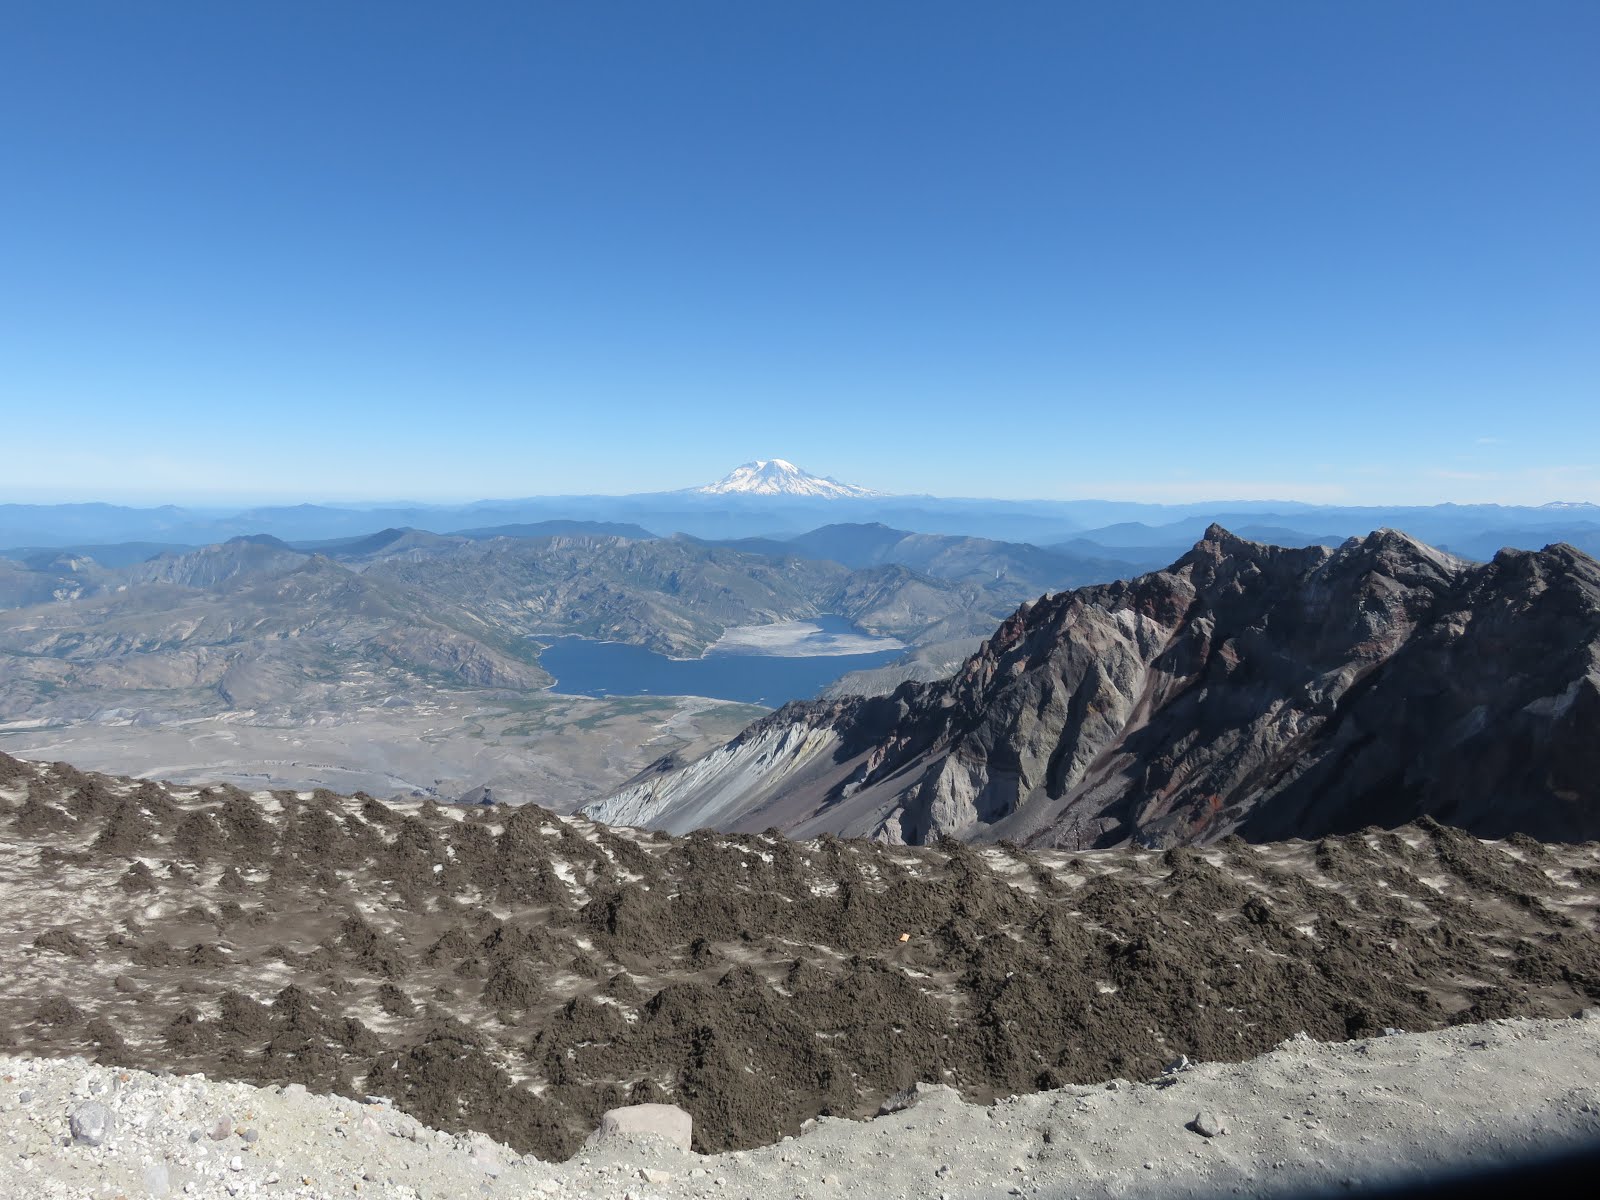
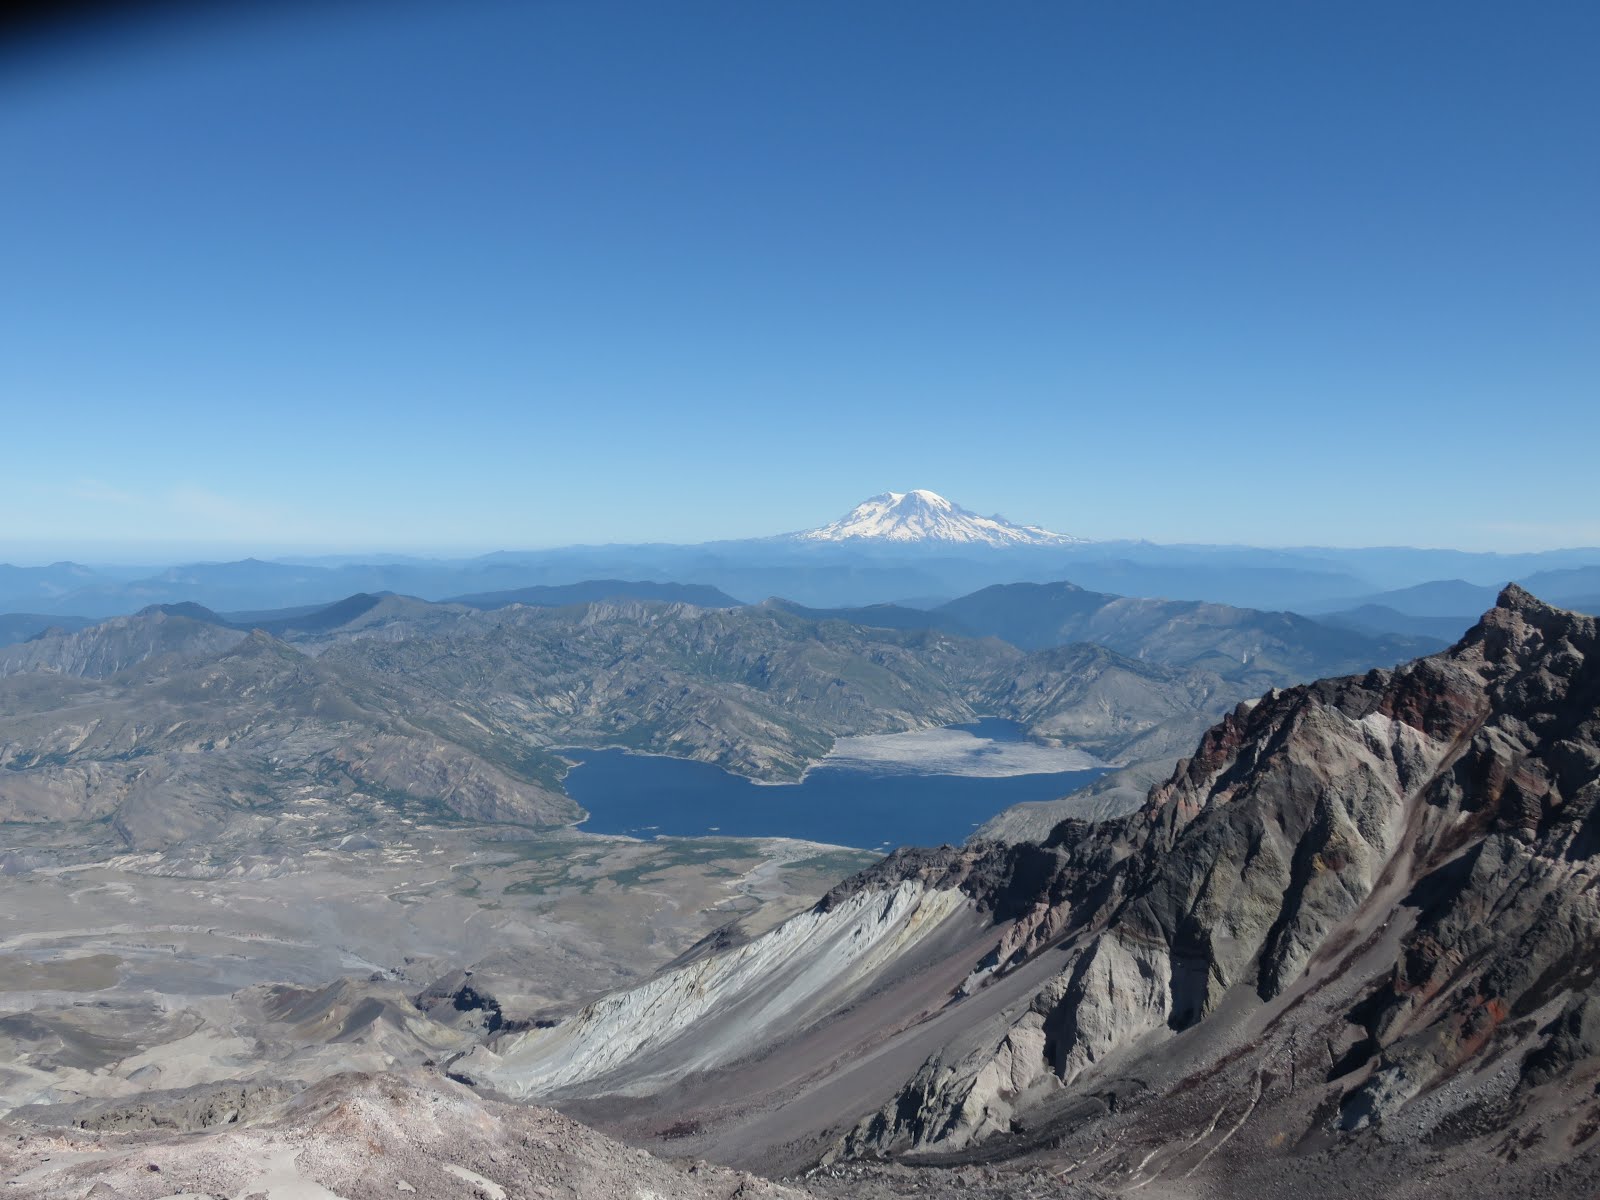
A picture does not do it justice, but here was the view, which was worth the 5 hours of misery!
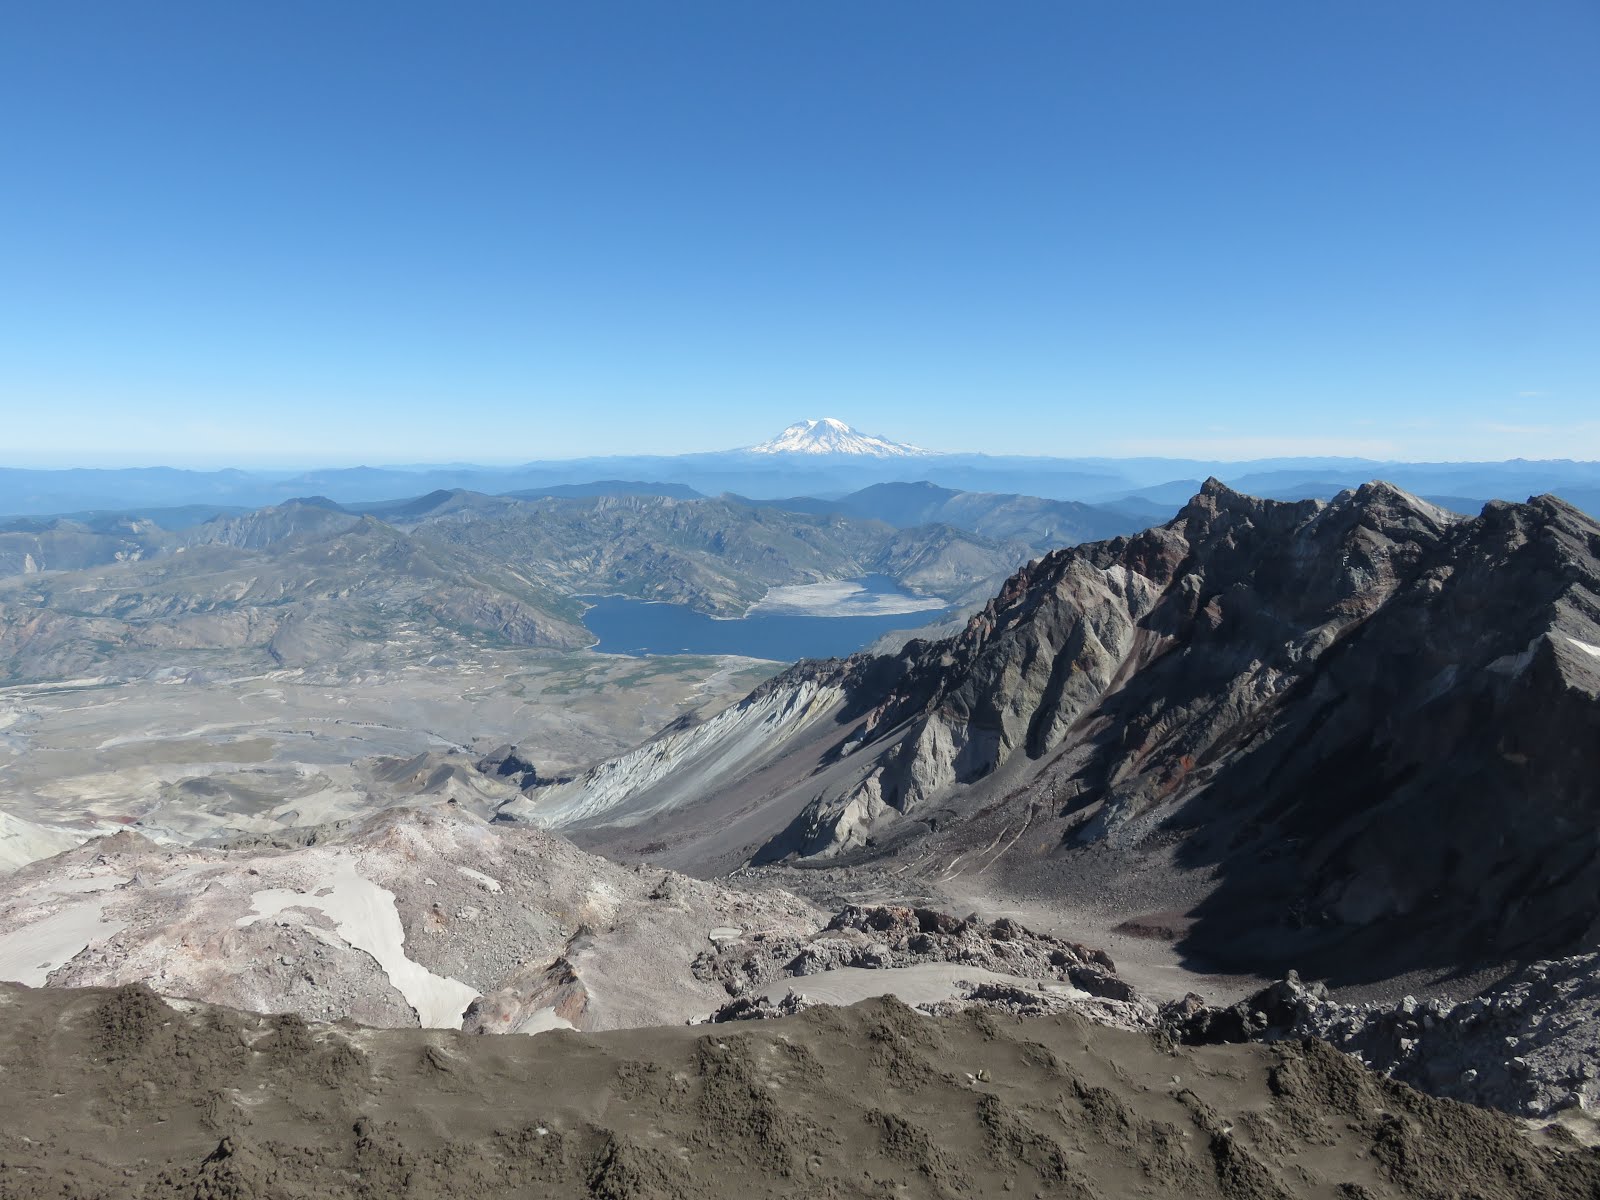
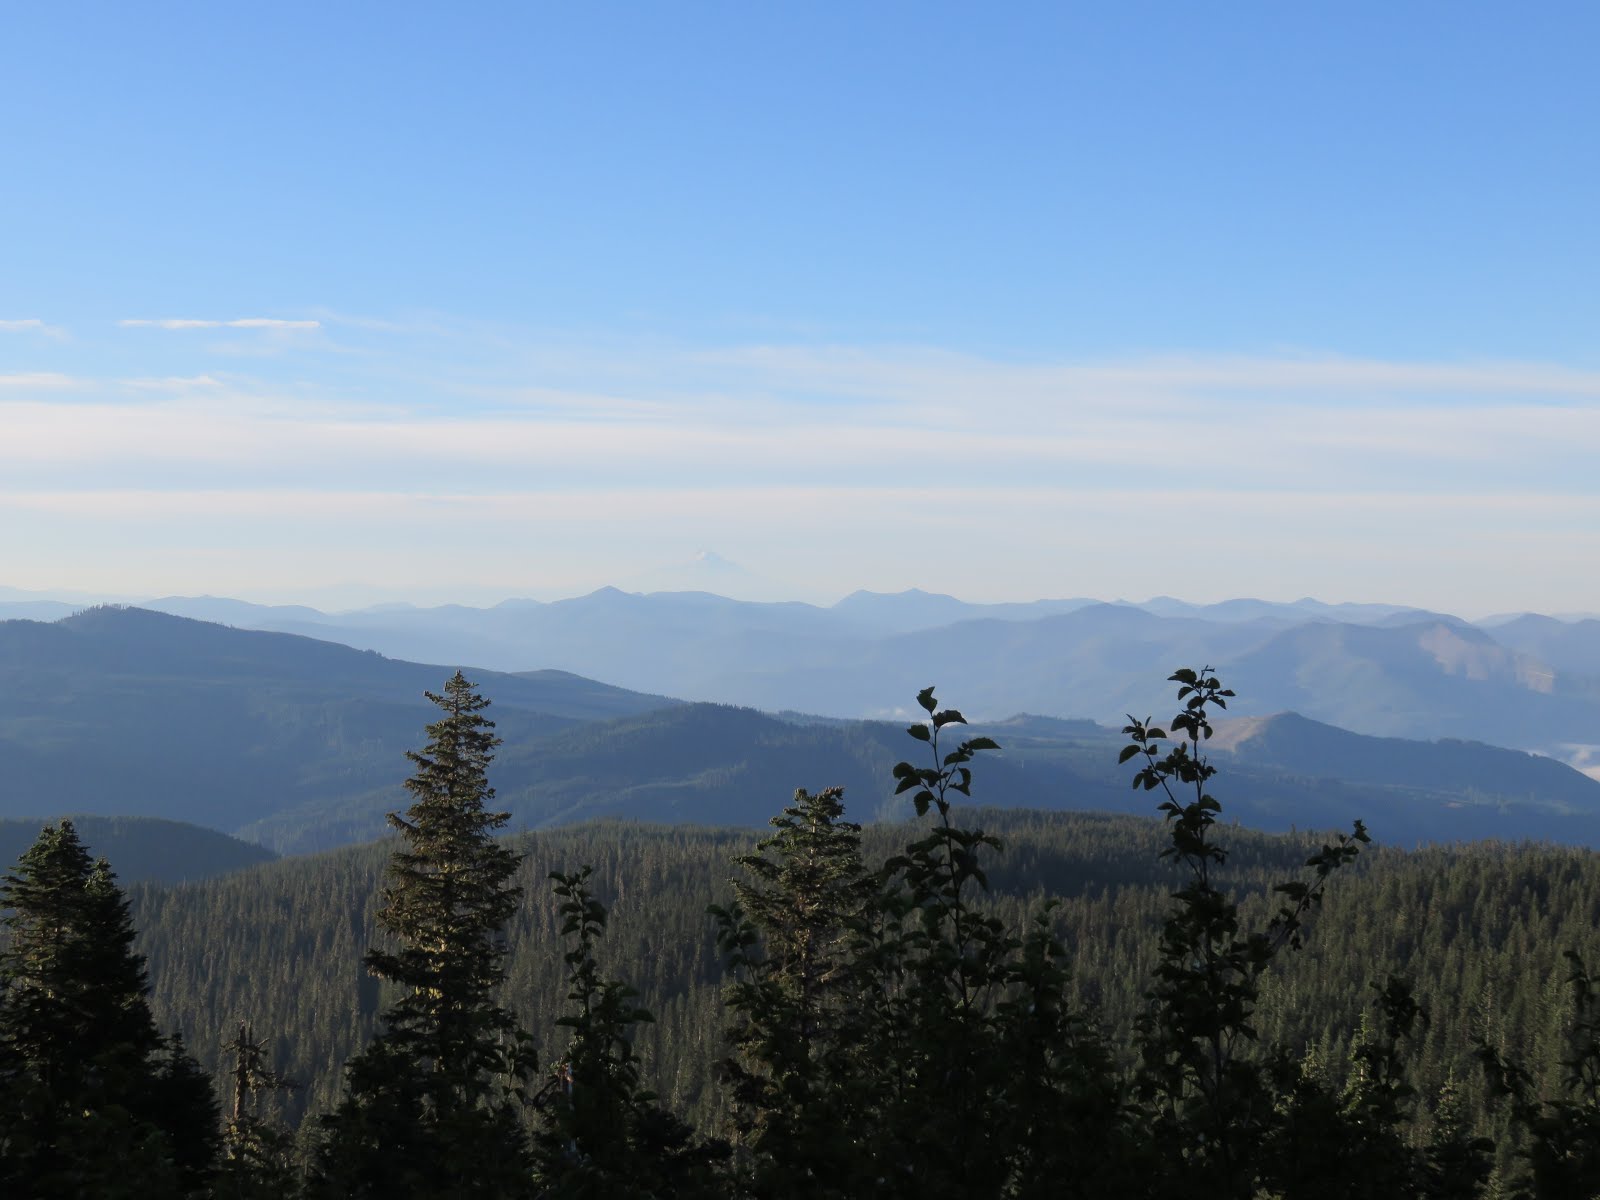
Looking forward, over the ridge, you can see Mt. Rainier in the distance and then, turning around, there are endless views in all directions. 
We could not have possibly gotten better weather!
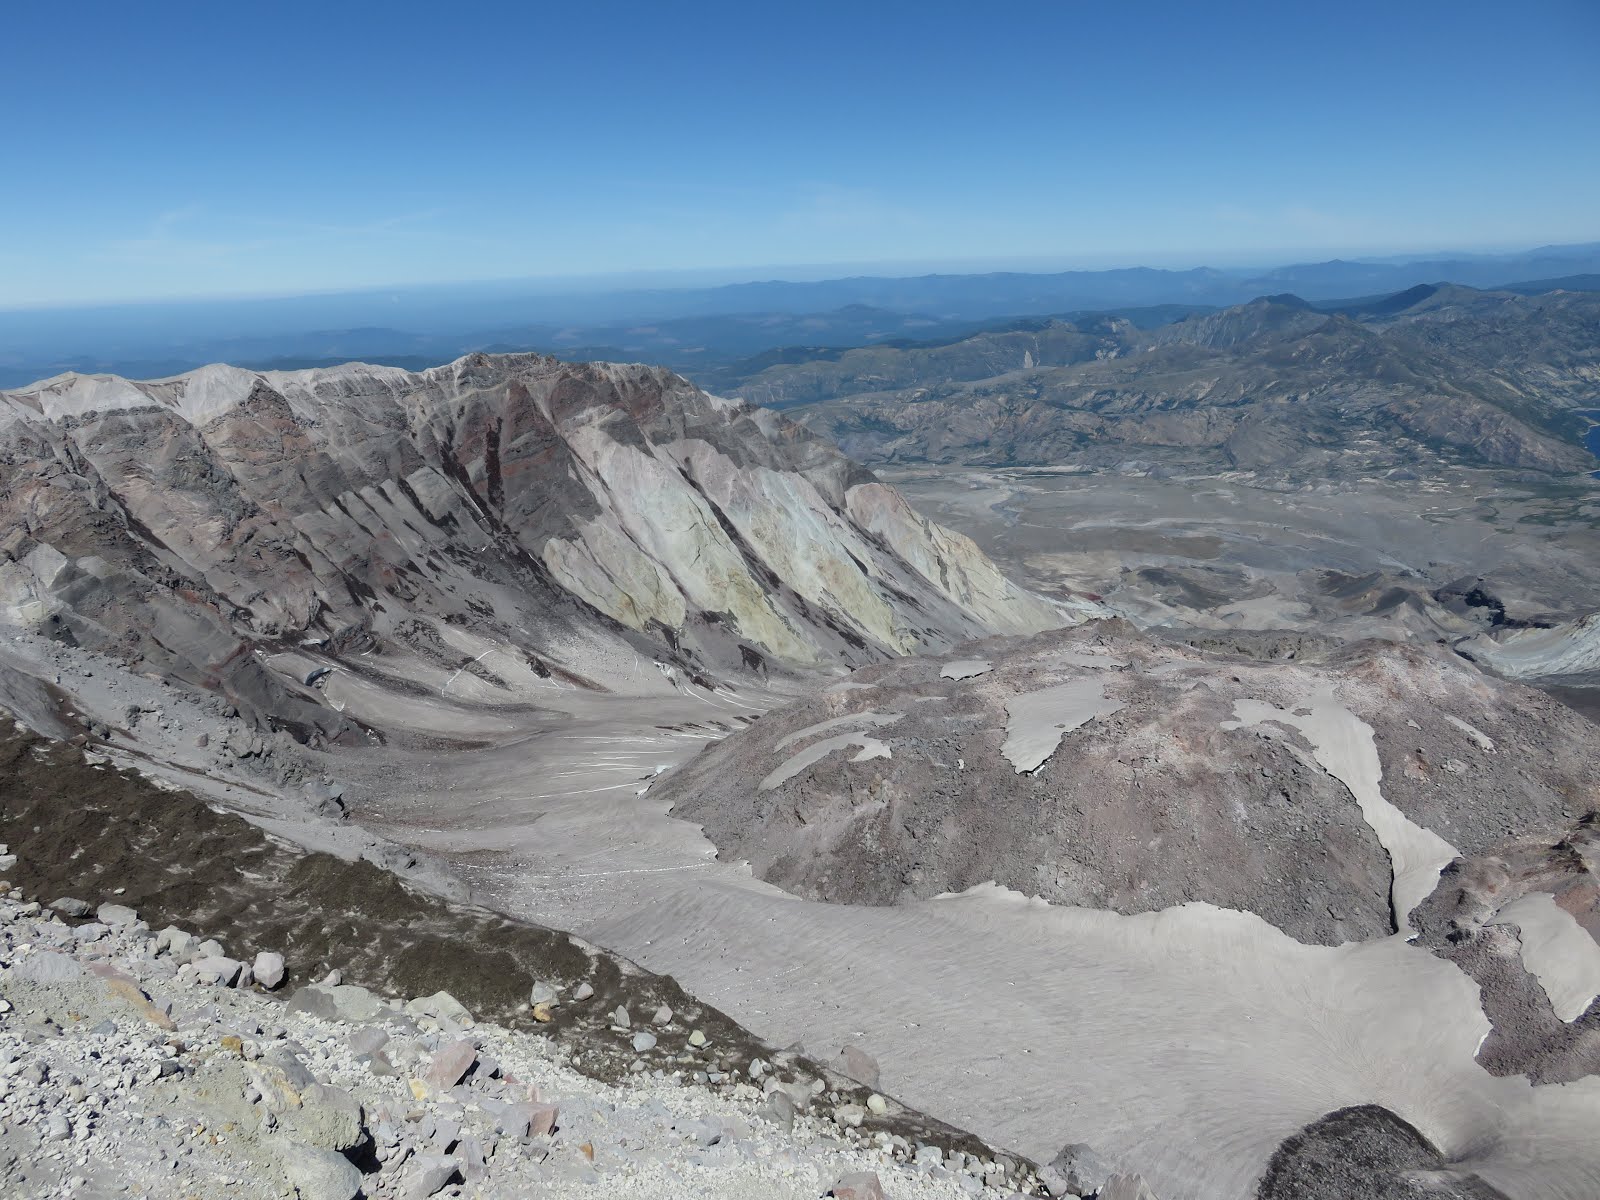
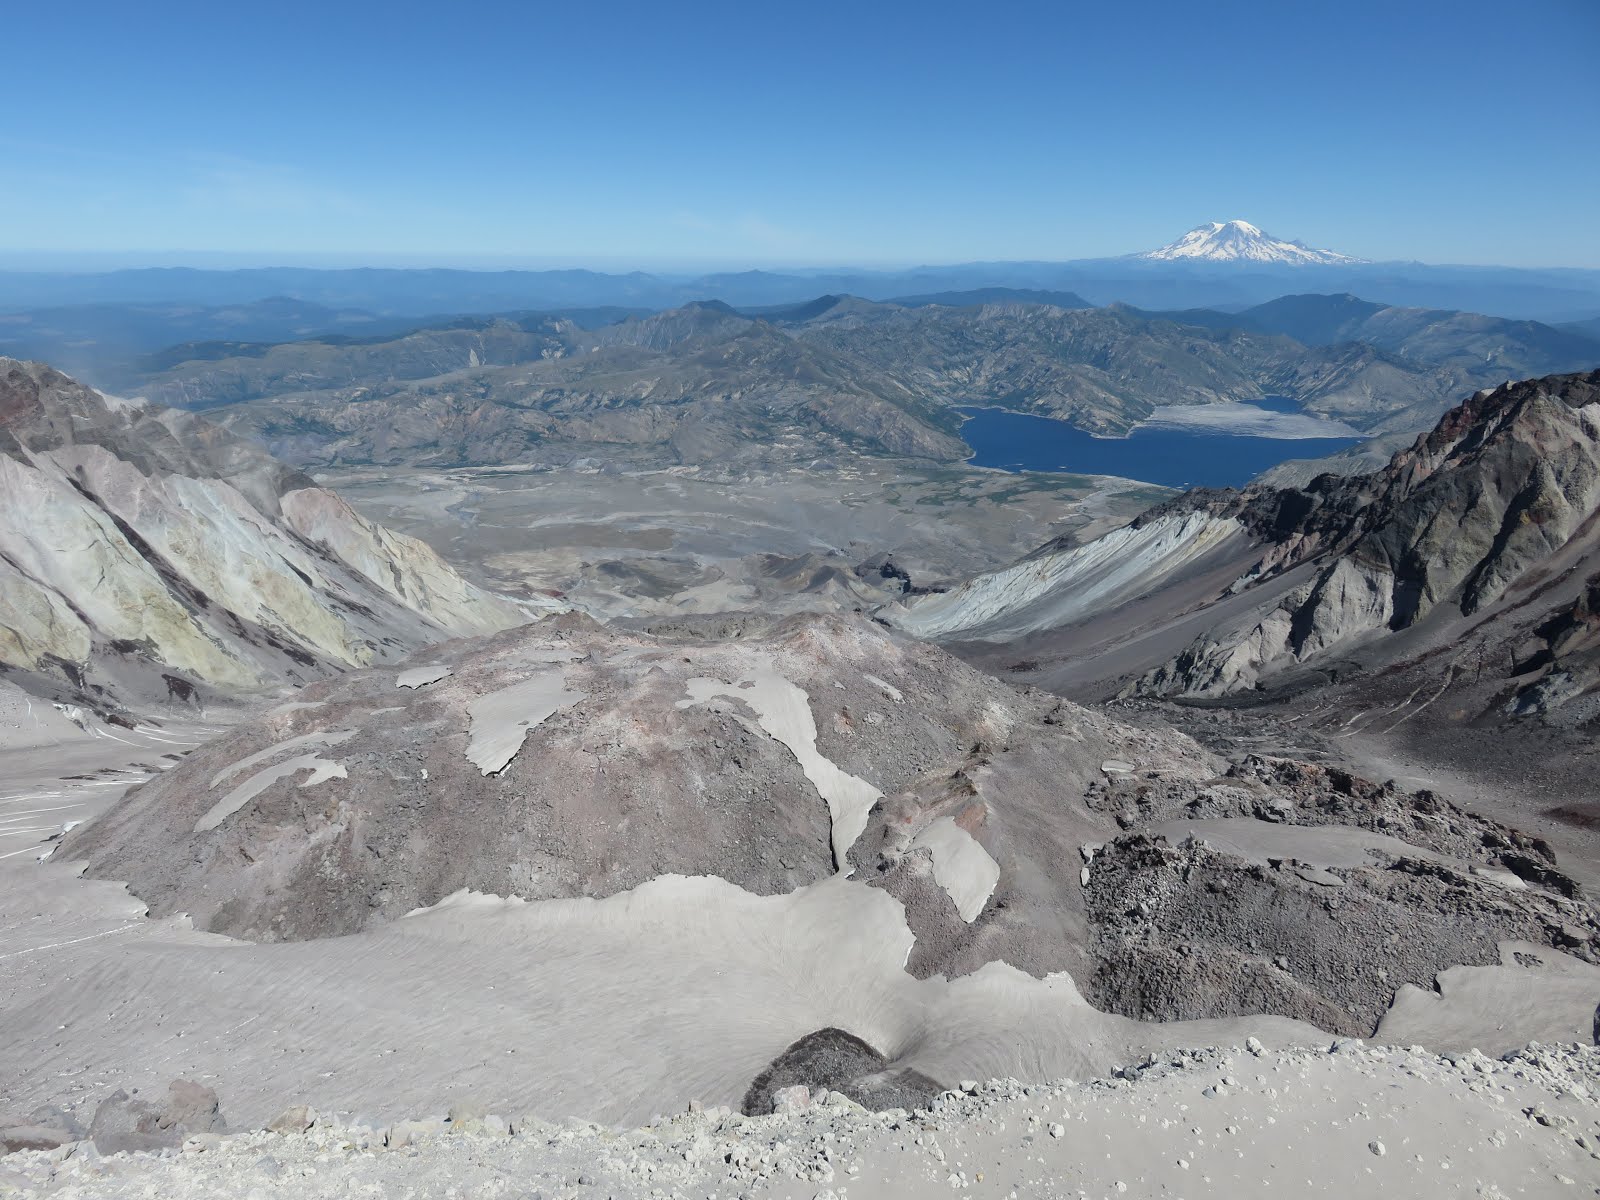
The center of Mt. St. Helens has started to grow up again – you can see this growth in the center – it can grow as much as 3 feet a day!
I cannot believe I made it! These summit moments, are the best feeling, and the best part, it is something that no one can ever take away! 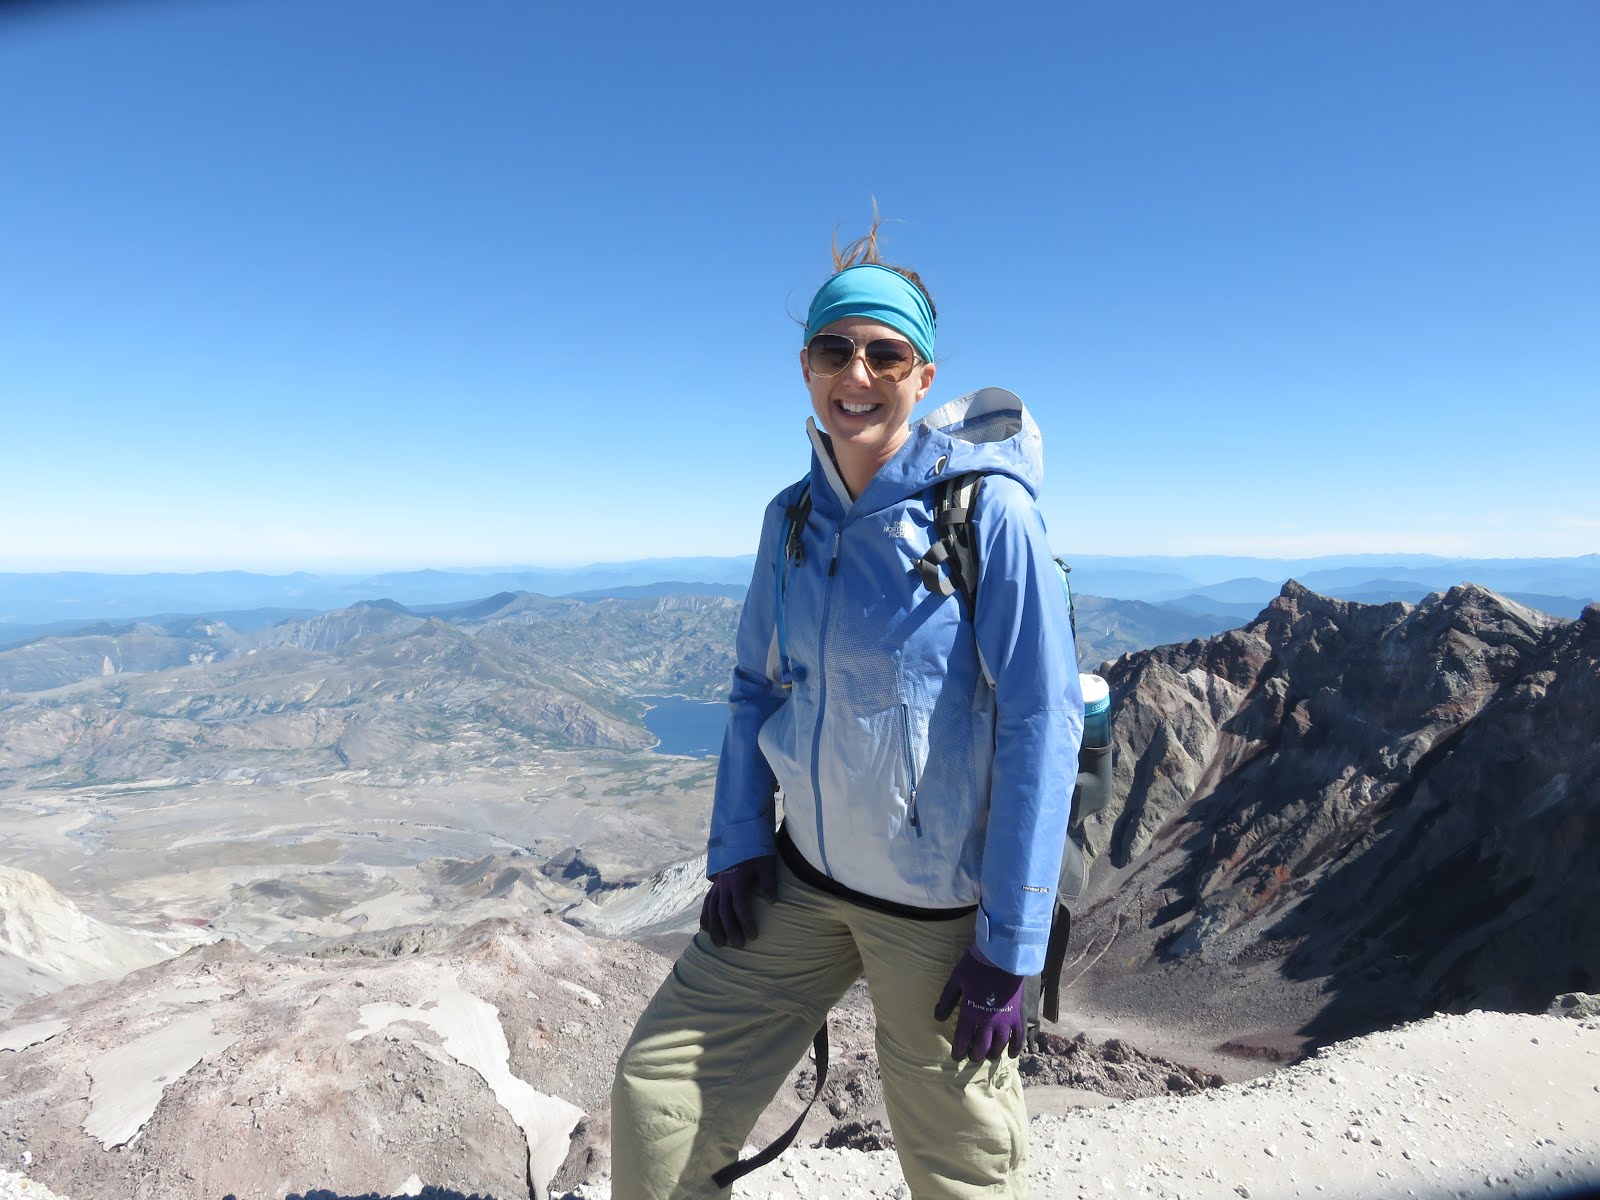
Movie from the top! Listen to the wind – I get cold thinking about it:
Another “must” – given the wind and the sun, is chapstick (make sure it has sunscreen, lips can burn too, especially in higher altitude) Here is my favorite*. I like Sun Bum because they are Hypoallergenic, Paraben Free, Gluten Free, Vegan and most importantly, has Broad Spectrum UVA, UVB Protection. Bonus: it also is Certified by Amazon as being Climate Pledge Friendly. They also make a reef friendly/safe sunscreen for your body, which is always a sign of a socially responsible company ❤
Such a long way down! From this view, you can see just how much ash there is. 
Check it out, those are PEOPLE, look how small they are and how much more of a climb they have!!! That was me hours ago.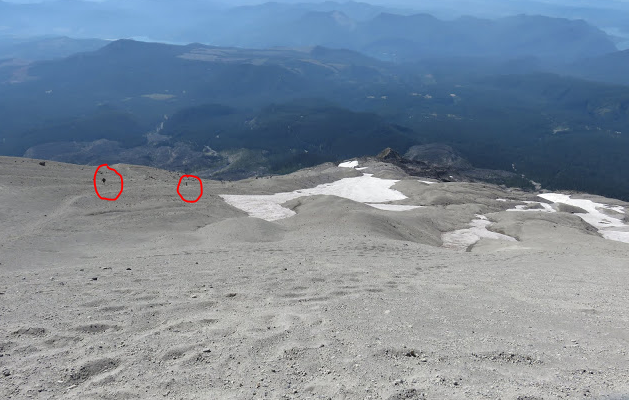
More pictures of climbers and the incredible view…


Peanut Butter and Jelly has never tasted so good:


Geological lesson from our amazing guides: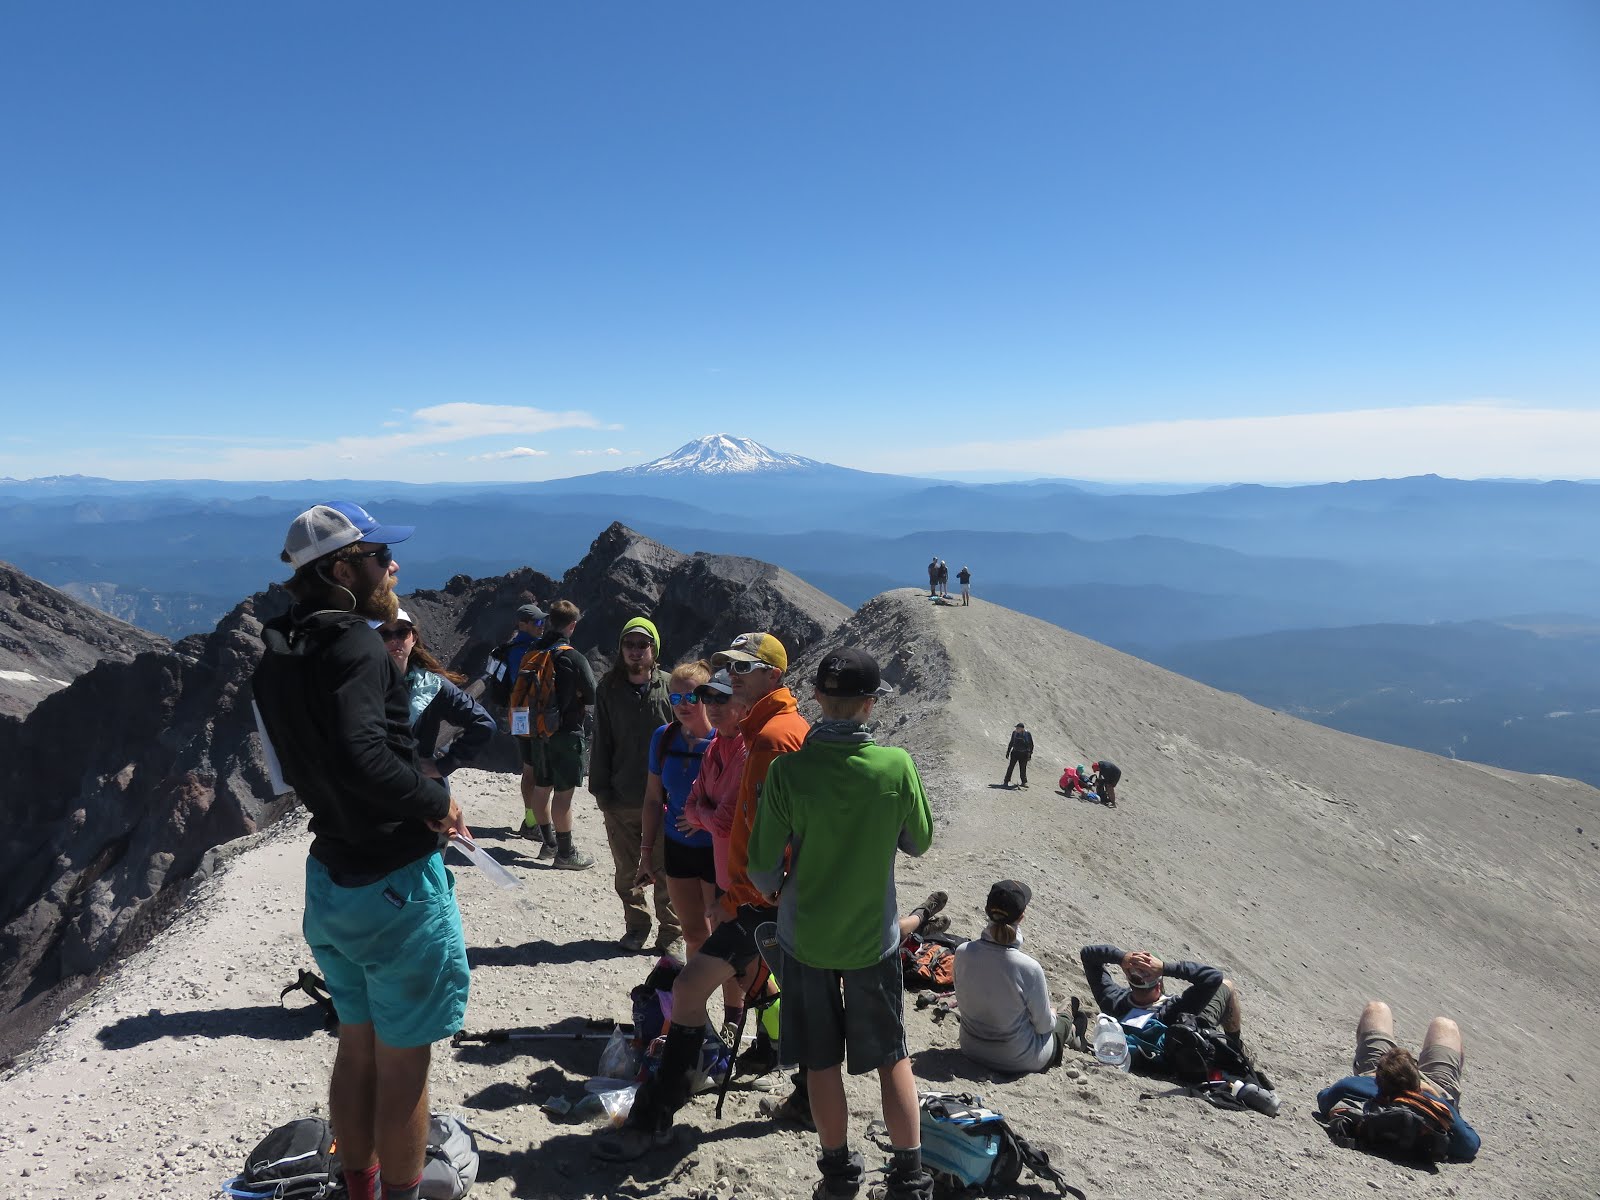
Last picture, this picture would end up becoming my favorite climbing picture. Probably has to do with how challenging the hike was. (Check out how dusty those new hiking boots are!)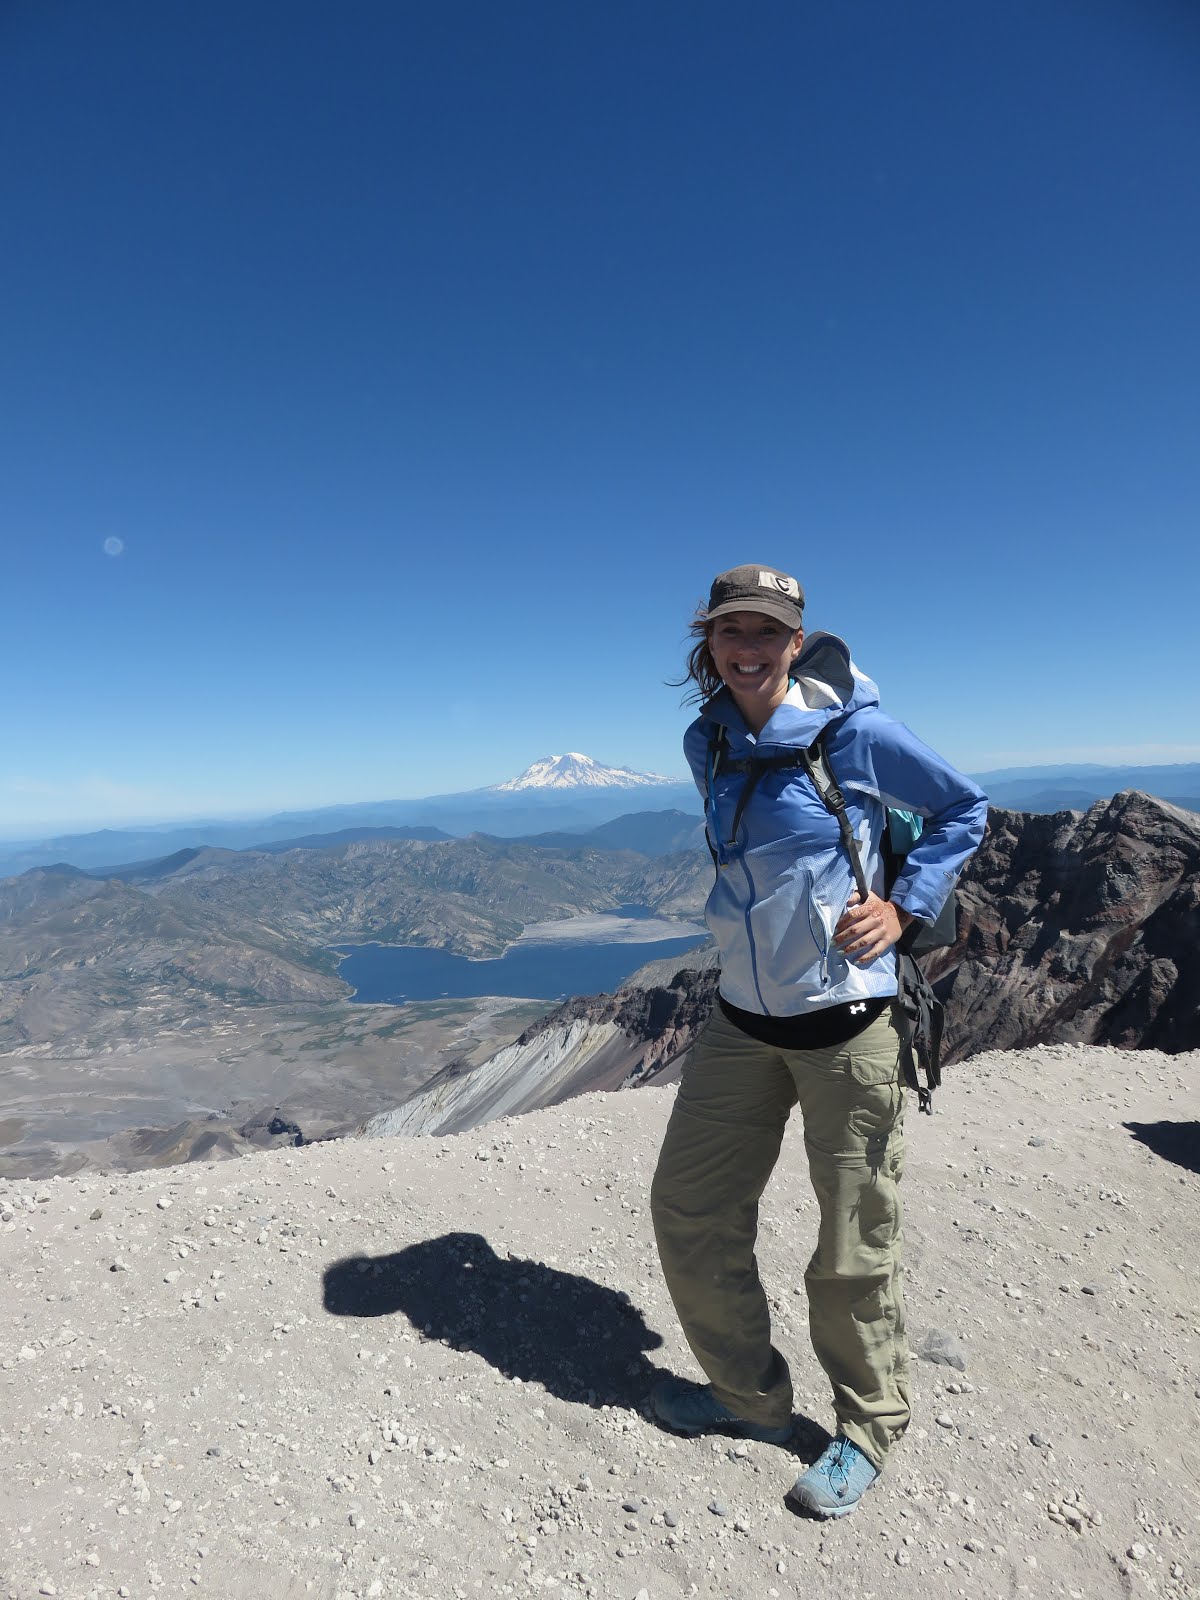
Time to head down…
Which is my least favorite part. This is why I love mountains that have roads or trains down – give it all on the way up and then relax on the way down (it also gives you more celebration time at the top). Going down, with the constant pounding, on an already tired body, is hard on the quads and especially the ankles (which in this case, were exhausted from the unstable ash).
Ironically, the best part of this descent was the ash, we could “ski” down the first part – almost running and sliding down the ashes. It took a couple hours to get up the ash, but only about 20 min to get down that part!!
Post Climb
We arrived back at the trail head around 4:00 PM, which I guess 10 hours is a good time. For prospective, when we hike 14ers in Colorado, we start at around 6:00 AM and are down by 2:00, at the latest. It was the hardest thing I have done to date (updating this post, 4 years later, yes, it is still the hardest climb I have done and since 2016, I have climbed FIVE more 14ers).
I do not know if it was because I was not emotionally ready or if I was in a particular negative mood or if it was because I was with no one I knew – but it was TOUGH!
I was sore for over a week – which was another first – like severely sore, as in I could barely walk. But, with all challenging and new experiences, I learned a couple things…
- I should ICE, not put heat on my sore muscles. After a couple days with no improvement, I started icing, elevating and using compression – which helped tremendously.
- I learned that it helped to wear calf-compressors (can even be tight socks) when I climb. I bought these* which were super fun socks and on my next climb, long run or Tough Mudder, I found I was substantially less sore (and I looked really cool too!)
- Right after the climb, I got a massage (as in a couple hours later) which I thought would help reduce the soreness, but I think it actually made it worse. I should have waited longer, as I think it caused more stress to my muscles.
- I also learned later that an Epson salt bath is an excellent way to help sooth sore muscles.
That is the thing about climbing, every time I do it, I learn something.
I keep a notebook that I use for writing down things I wish I had had during the climb and then the next time I climb, instead of trying to remember, I just look at the notebook. This notebook is how I have built my “ready to go back-pack” which is really a bag full of all the things that, at one time, I wished I had had.
Again, another great metaphor for life, “don’t get mad, learn from it!”
I was super proud to set a new record for my FitBit too!! (a record that still holds to this day)
All in all, it was a great day and I was very humbled and proud of myself. I decided that even though it was not a 14er, I am going to count Mt. St. Helens as “MY MOUNTAIN” for the year. (I am trying to climb ten 14ers by the time I turn 40 years old)
Hopefully this post helps you as you are preparing to climb Mt. St. Helens (or any hike really).
I want to leave you with my favorite quote about the hike. I found this AFTER, it was the only quote I found that was accurate and it is from www.oregonhikers.org. I do not know if I would have found this before the hike if it would have prepared me more, but I thought it was dead on (funny, but oh so true) …
“If you are a hiker in good shape, this hike will tear you apart. All you’ll be able to say is, “I can’t take it much longer!” However, if you are a hiker in excellent shape, who has hiked Mount Defiance the hard way, you may have so much fun you’ll barely realize how sore you are hiking this mountain. “
